Atreus: Building a custom ergonomic keyboard

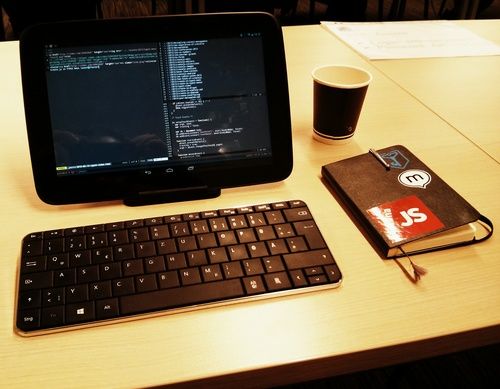
As mentioned in my Working on Android post, I’ve been using a mechanical keyboard for a couple of years now. Now that I work on Flowhub from home, it was a good time to re-evaluate the whole work setup. As far as regular keyboards go, the MiniLa was nice, but I wanted something more compact and ergonomic.
The Atreus keyboard
Atreus is a 40% ergonomic mechanical keyboard designed by Phil Hagelberg. It is an open hardware design, but he also sells kits for easier construction. From the kit introduction:
The Atreus is a small mechanical keyboard that is based around the shape of the human hand. It combines the comfort of a split ergonomic keyboard with the crisp key action of mechanical switches, all while fitting into a tiny profile.
My use case was also quite travel-oriented. I wanted a small keyboard that would enable me to work with it also on the road. There are many other small-ish DIY keyboard designs like Planck and Gherkin available, but Atreus had the advantage of better ergonomics. I really liked the design of the Ergodox keyboard, and Atreus essentially is that made mobile:
I found the split halves and relatively large size (which are fantastic for stationary use at a desk) make me reluctant to use it on the lap, at a coffee shop, or on the couch, so that’s the primary use case I’ve targeted with the Atreus. It still has most of the other characteristics that make the Ergodox stand out, like mechanical Cherry switches, staggered columns instead of rows, heavy usage of the thumbs, and a hackable microcontroller with flexible firmware, but it’s dramatically smaller and lighter
I had the opportunity to try a kit-built Atreus in the Berlin Mechanical Keyboard meetup, and it felt nice. It was time to start the project.
Sourcing the parts
When building an Atreus the first decision is whether to go with the kit or hand-wire it yourself. Building from a kit is certainly easier, but since I’m a member of a hackerspace, doing a hand-wired build seemed like the way to go.
To build a custom keyboard, you need:
- Switches: in my case 37 Cherry MX blues and 5 Cherry MX blacks
- Diodes: one 1N4148 per switch
- Microcontroller: a Arduino Pro Micro on my keyboard
- Keycaps: started with recycled ones and later upgraded to DSA blanks
- Case: got a set of laset-cut steel plates
Even though Cherry — the maker of the most common mechanical key switches — is a German company, it is quite difficult to get switches in retail here. Luckily a fellow hackerspace member had just dismantled some old mechanical keyboards, and so I was able to get the switches I needed via barter.

The Cherry MX blues are tactile clicky switches that feel super-nice to type on, but are quite loud. For modifiers I went with Cherry MX blacks that are linear. This way there is quite a clear difference in feel between keys you typically hold down compared to the ones you just press.
The diodes and the microcontroller I ordered from Amazon for about 20€ total.

At first I used a set of old keycaps that I got with the switches, but once the keyboard was up and running I upgraded to a very nice set of blank DSA-profile keycaps that I ordered from AliExpress for 30€. That set came with enough keycaps that I’ll have myself covered if I ever build a second Atreus.
All put together, I think the parts ended up costing me around 100€ total.
Preparations
When I received all the parts, there were some preparation steps to be made. Since the key switches were 2nd hand, I had to start by dismantling them and removing old diodes that had been left inside some of them.

The keycaps I had gotten with the switches were super grimy, and so I ended up sending them to the washing machine. After that you could see that they were not new, but at least they were clean.
With the steel mounting plate there had been a slight misunderstading, and the plates I received were a few millimeters thicker than needed, so the switches wouldn’t “click” in place. While this could’ve been worked around with hot glue, we ended up filing the mounting holes down to the right thickness.


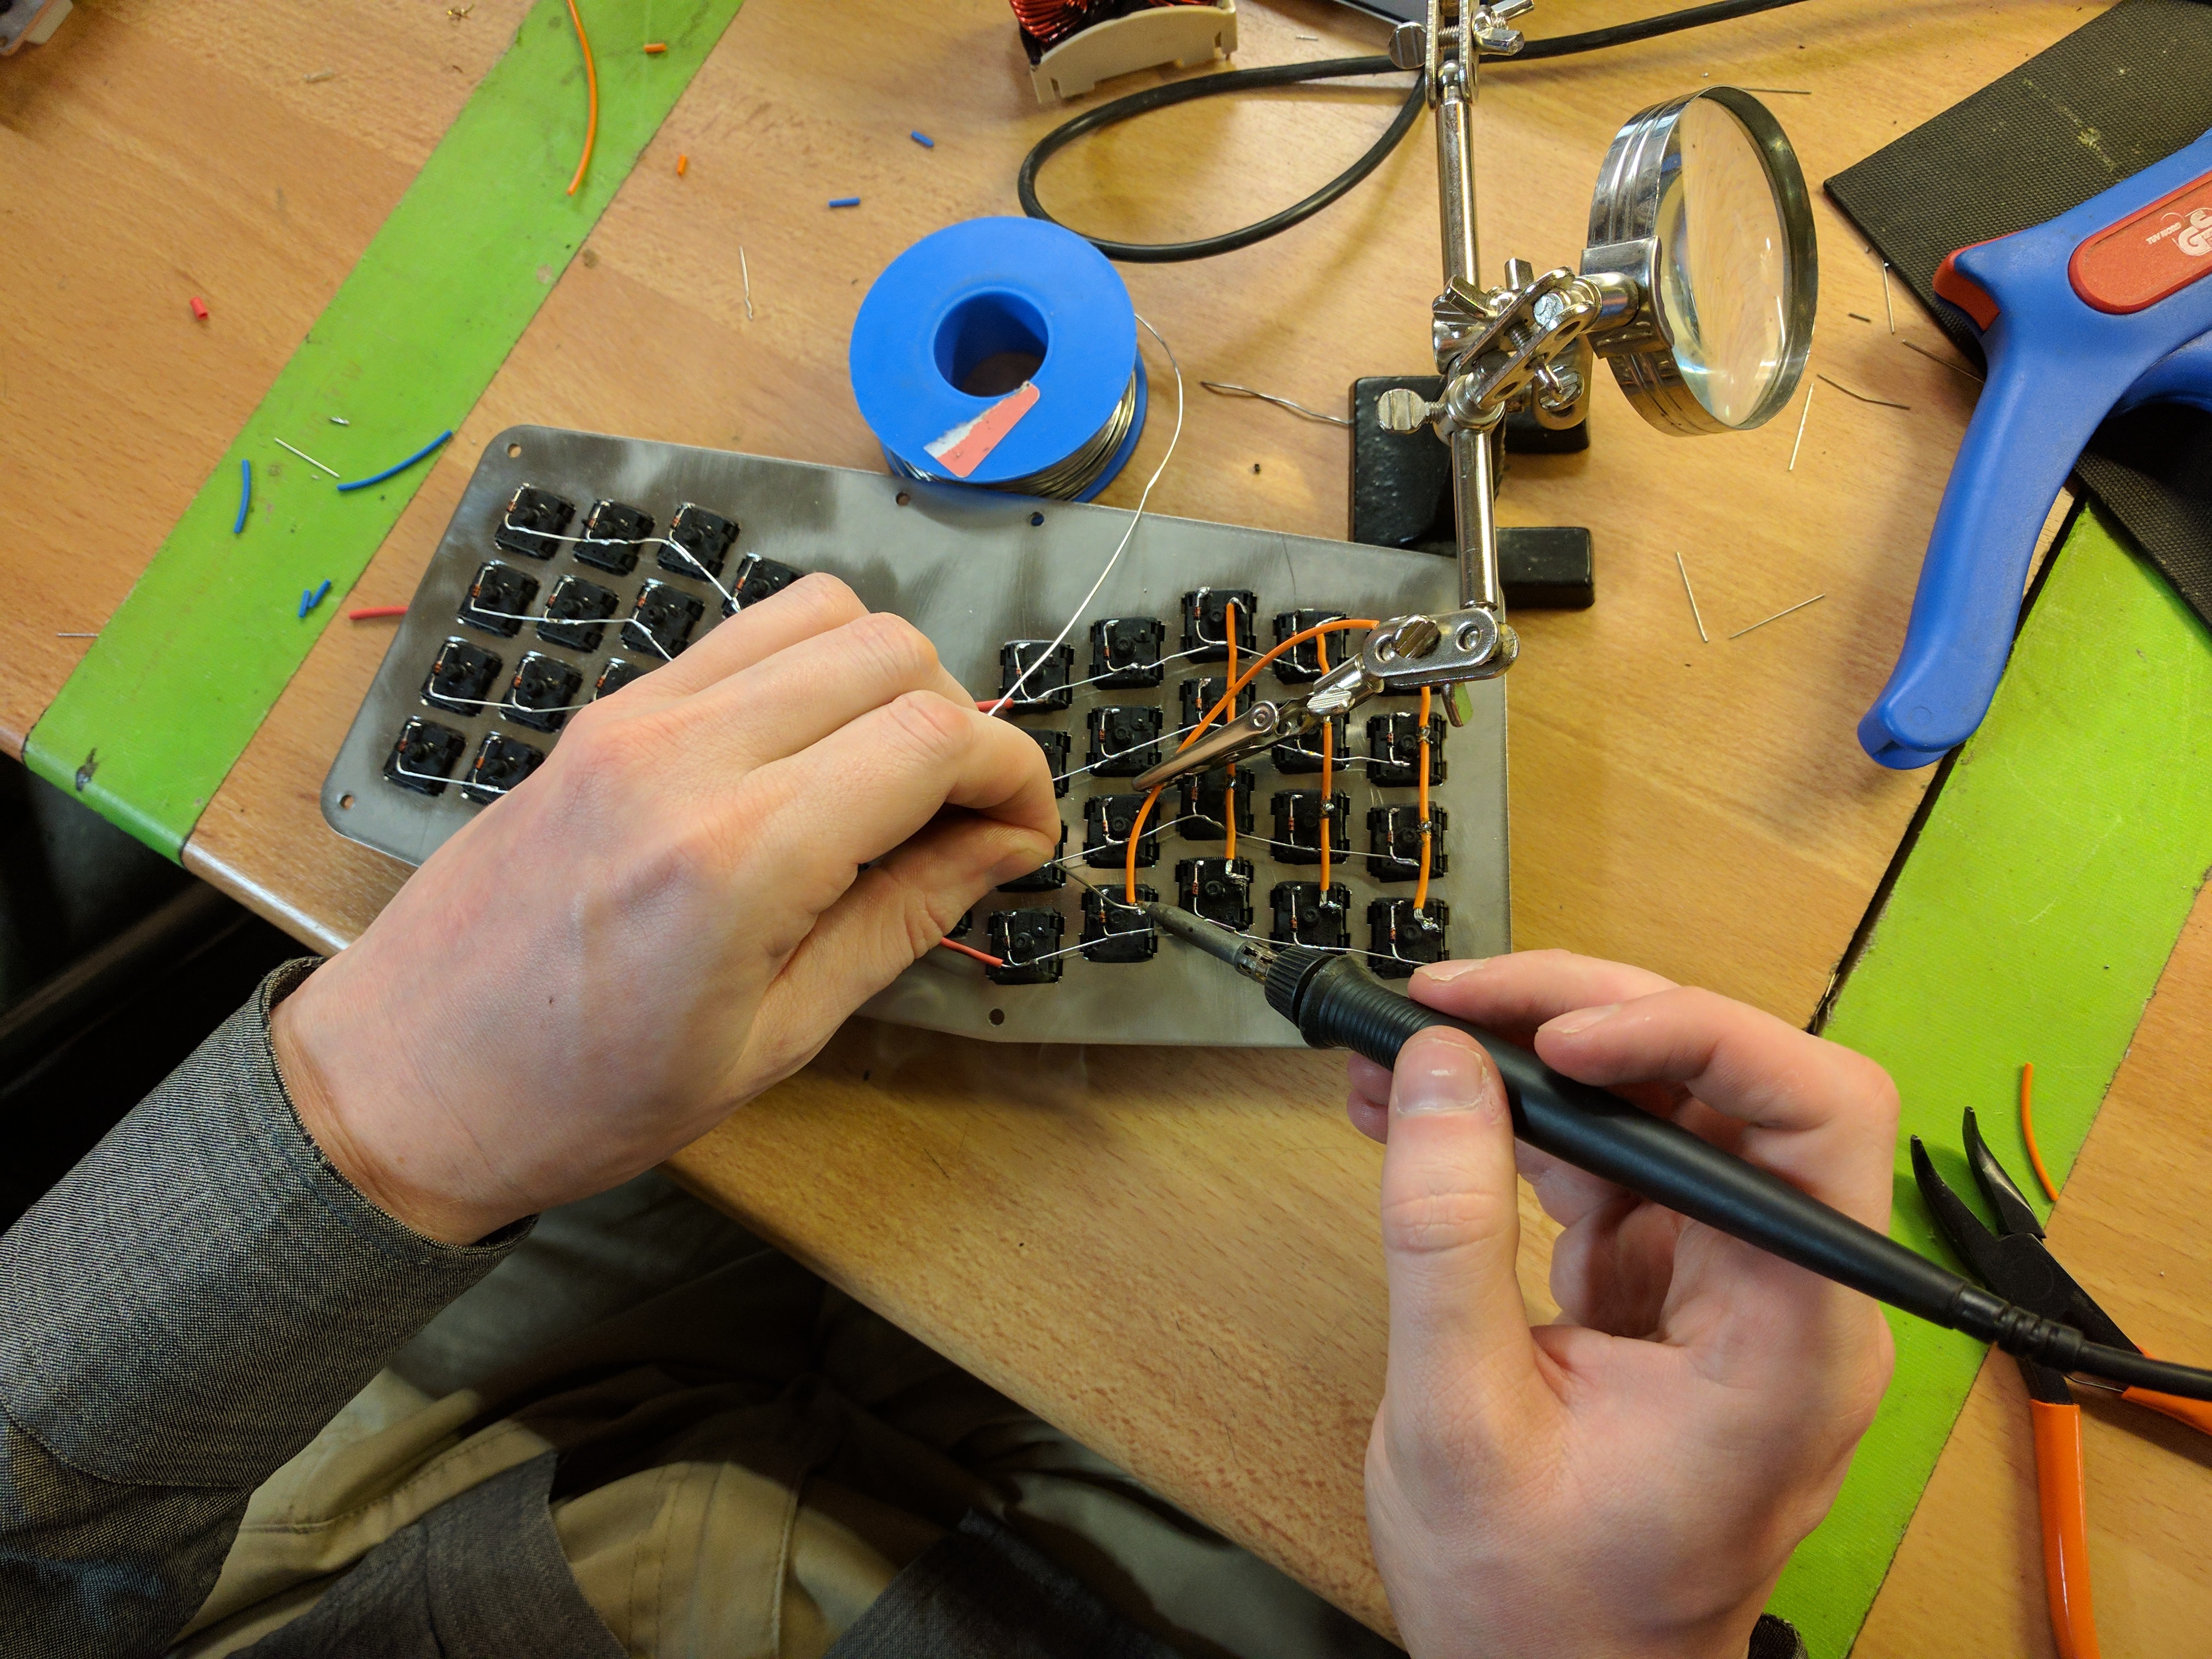
Wiring the keyboard
Once the mounting plate was in the right shape, I clicked the switches in and it was time to solder.

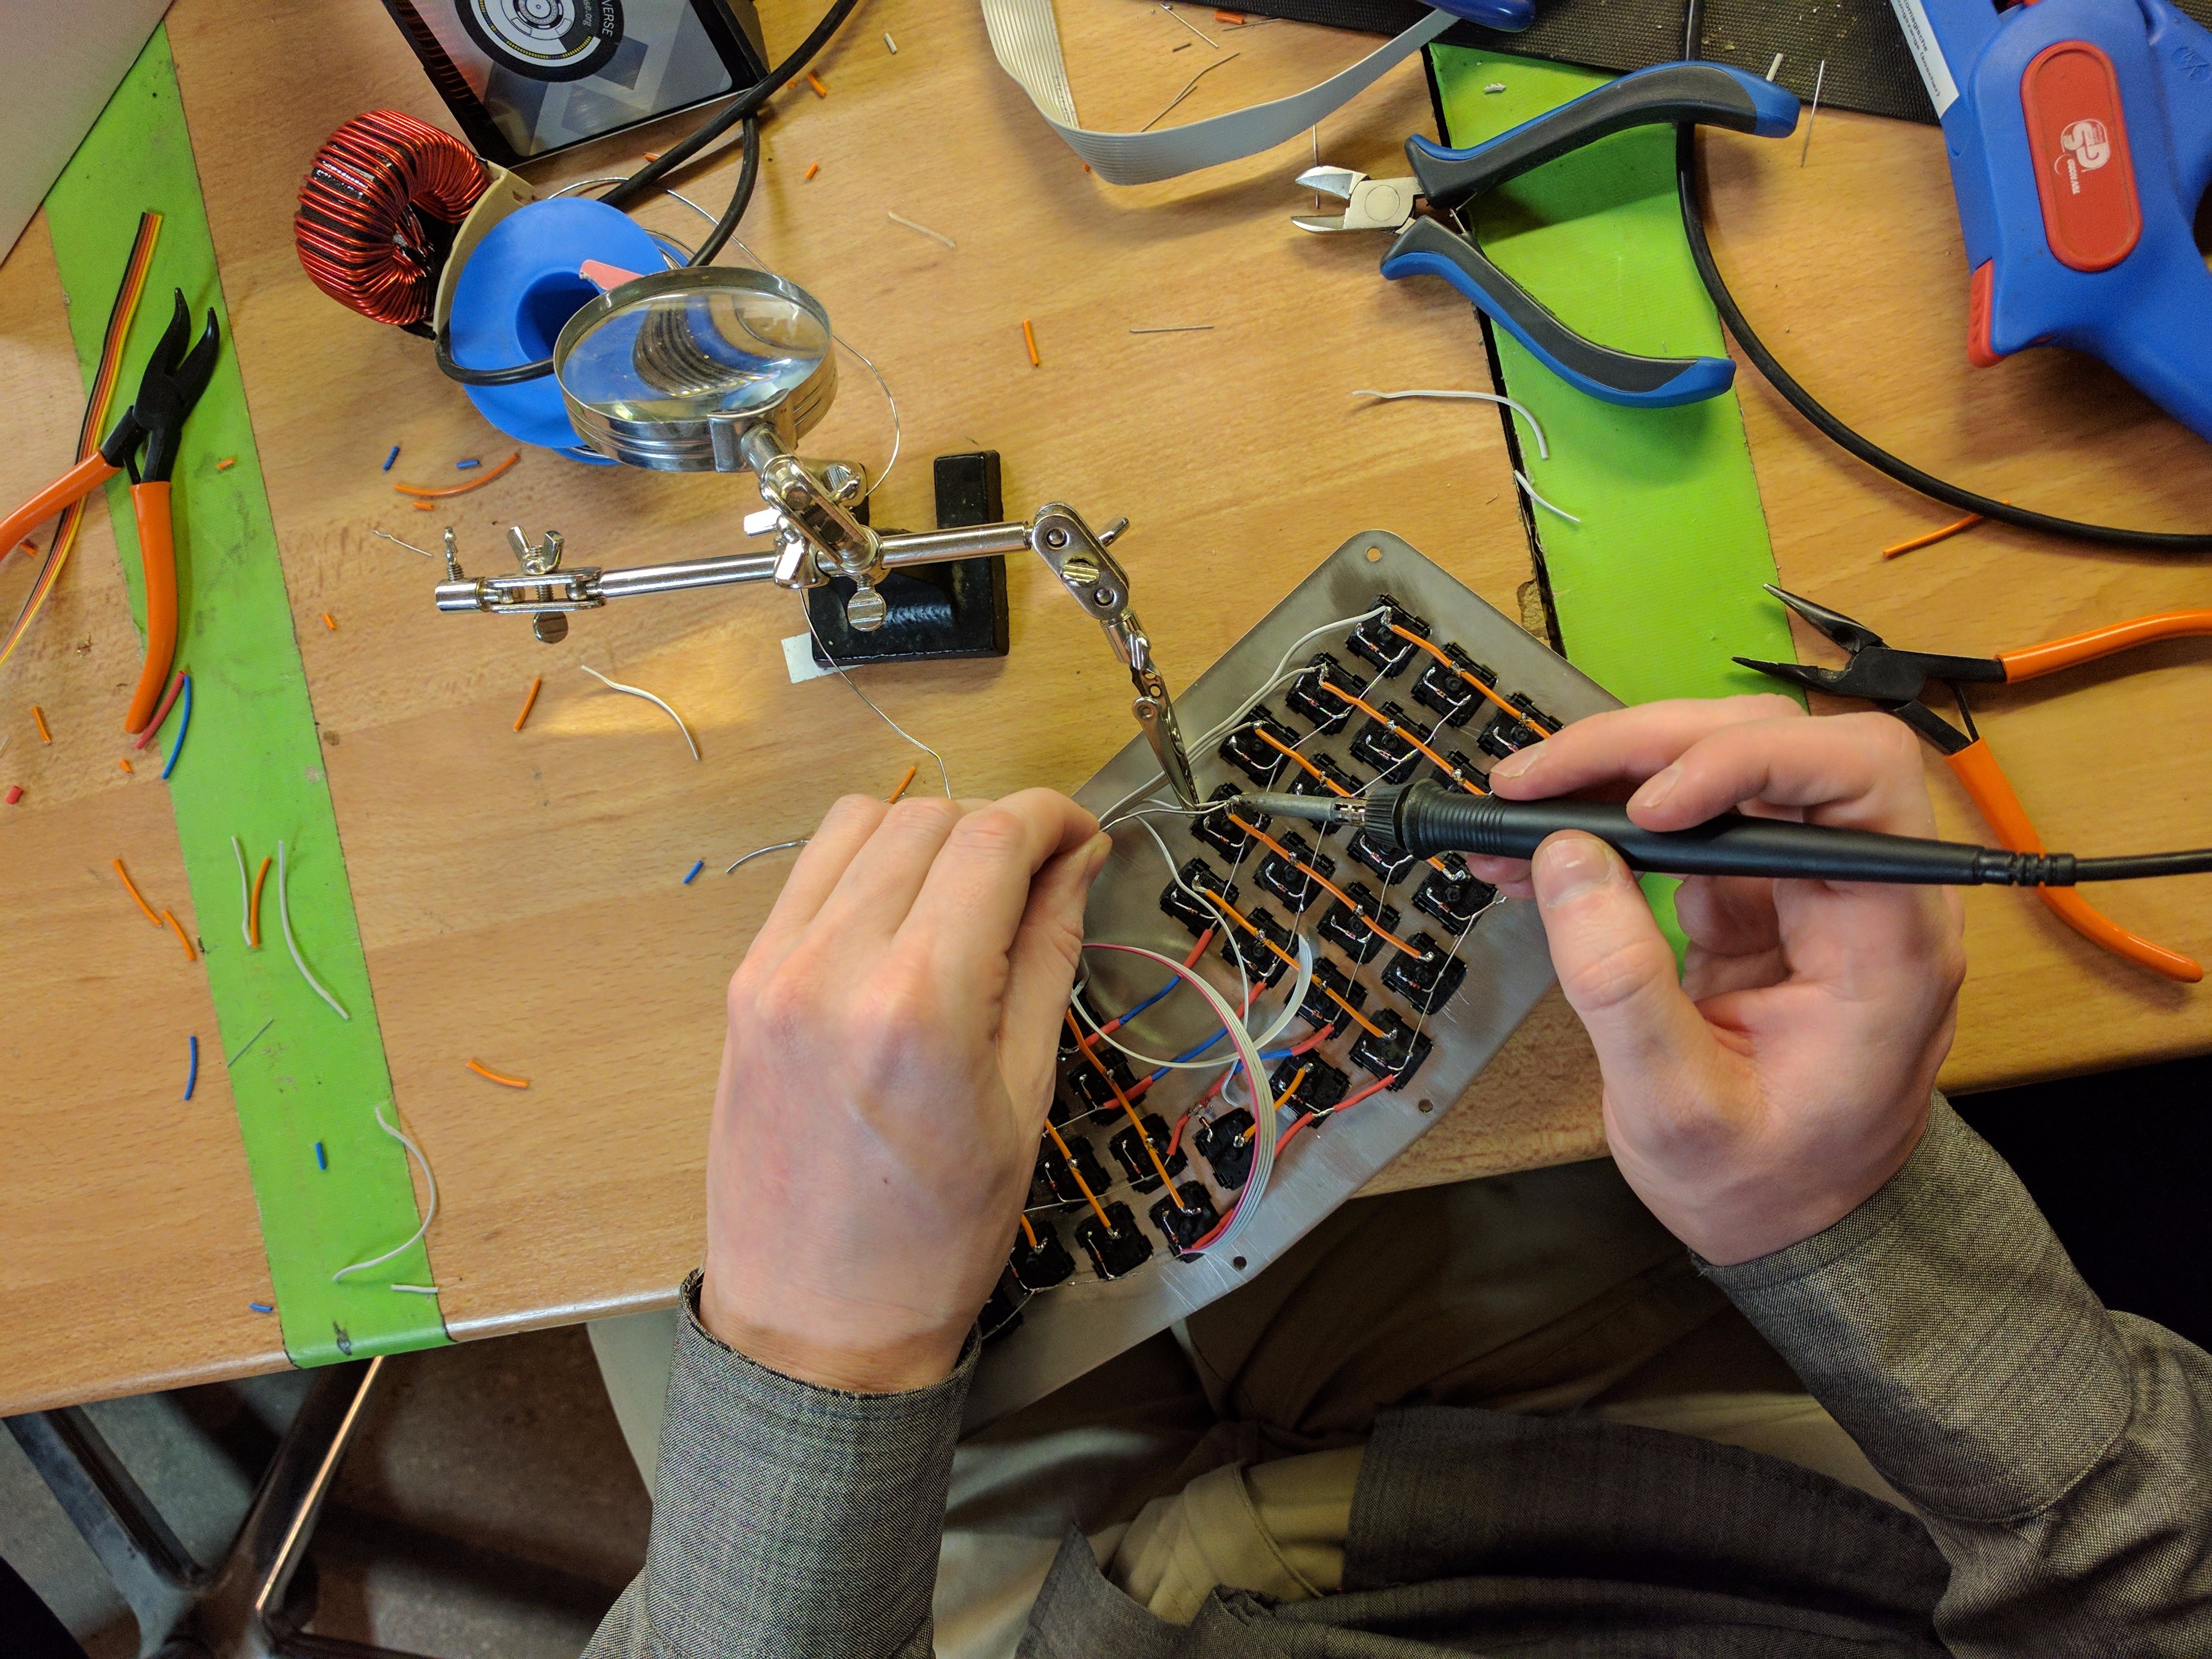
Hand-wiring keyboards is not that tricky. You have to attach a diode to each keyswitch, and then connect each row together via the diodes.
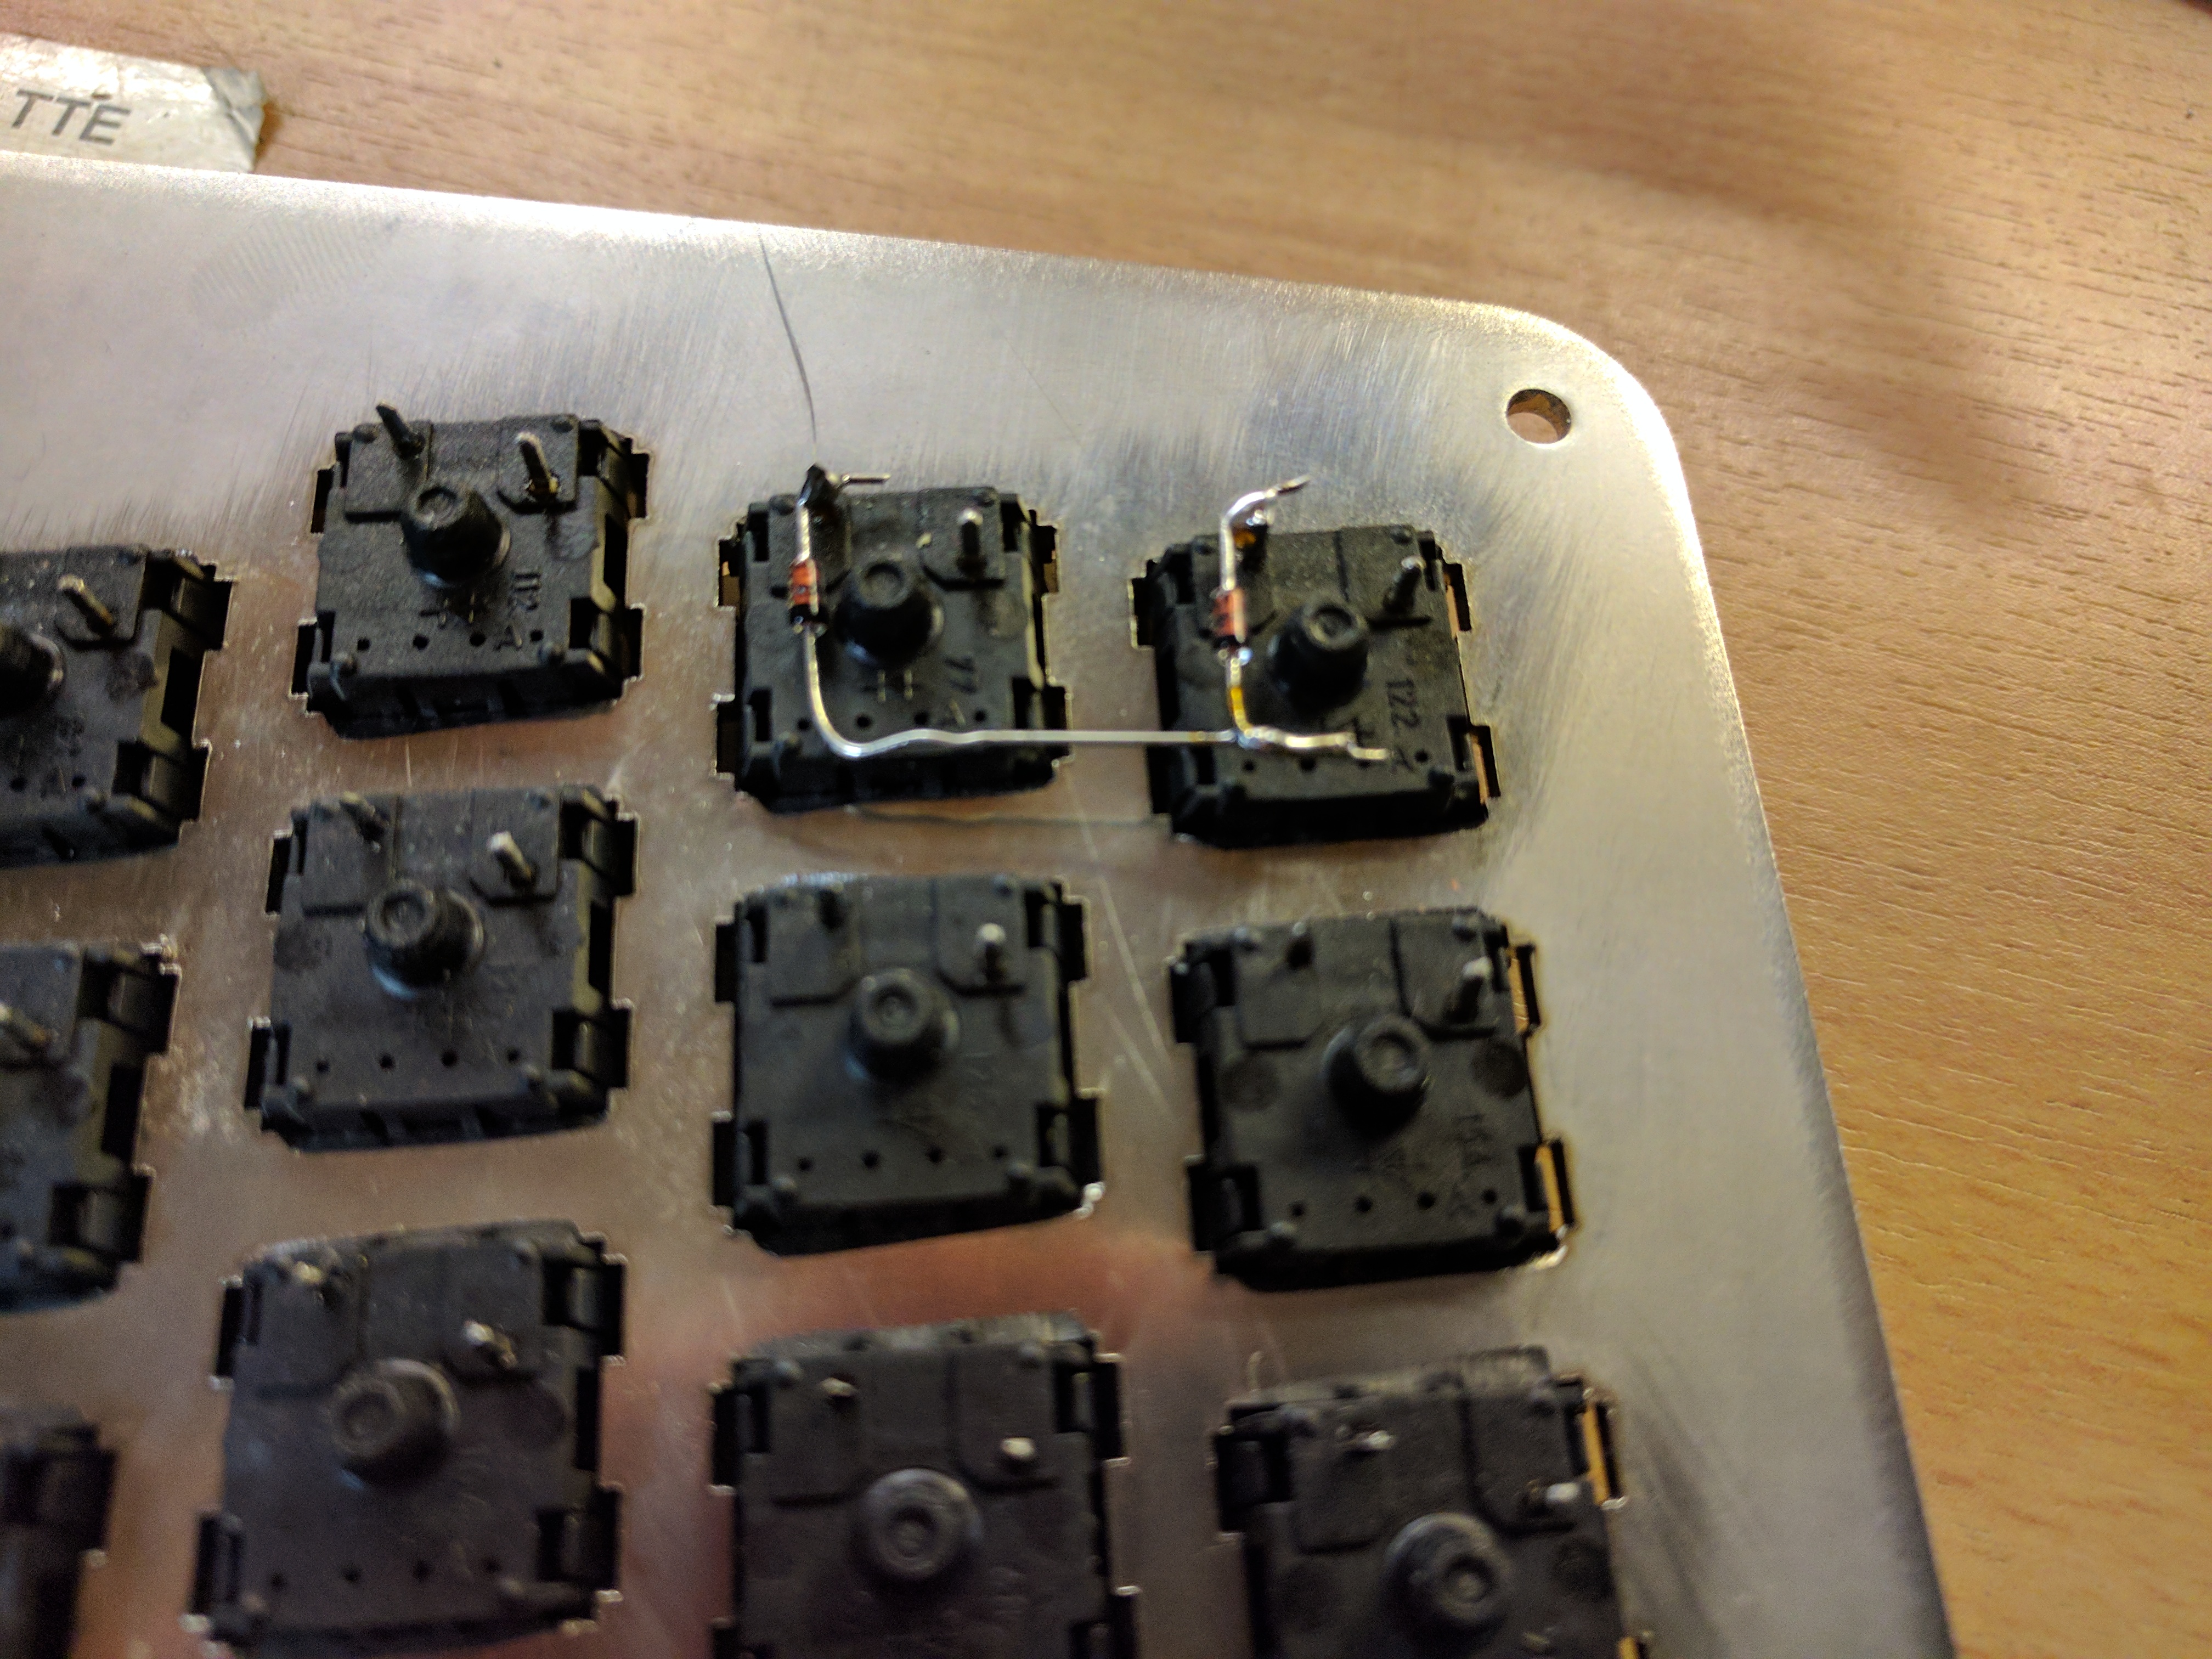
The two thumb keys are wired to be on the same column, but different rows.

Then each column is connected together via the other pin on the switches.
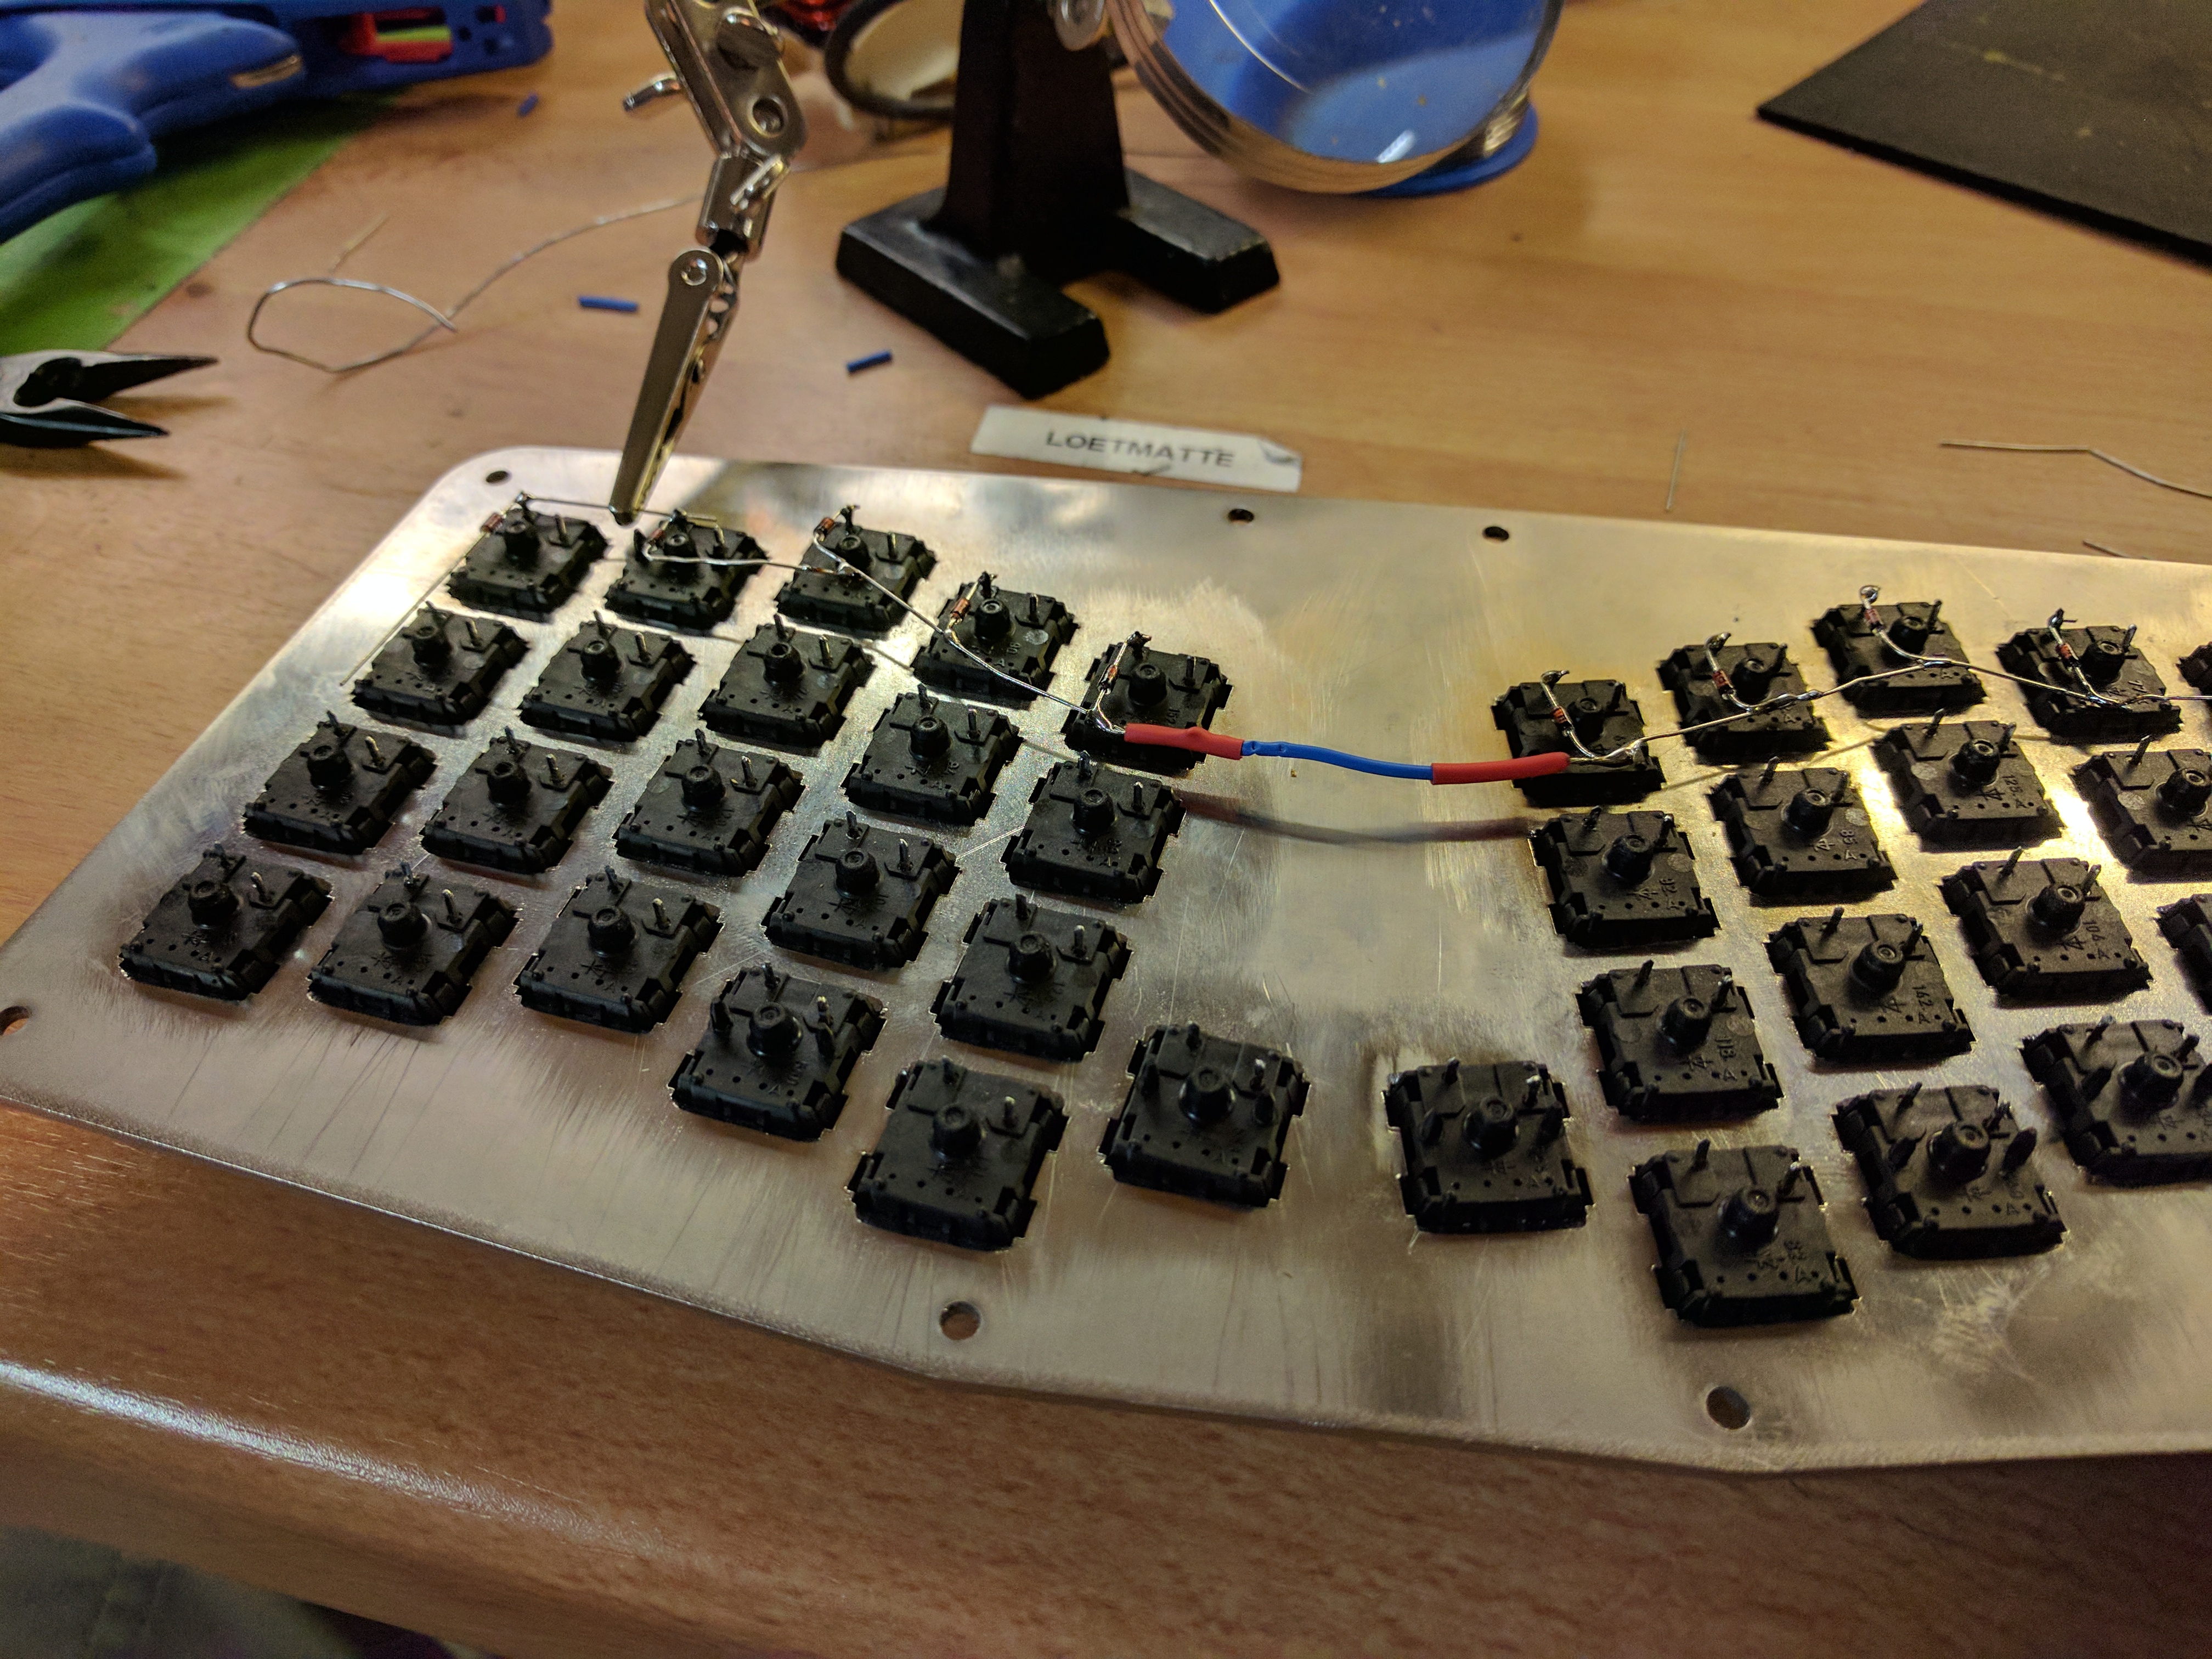
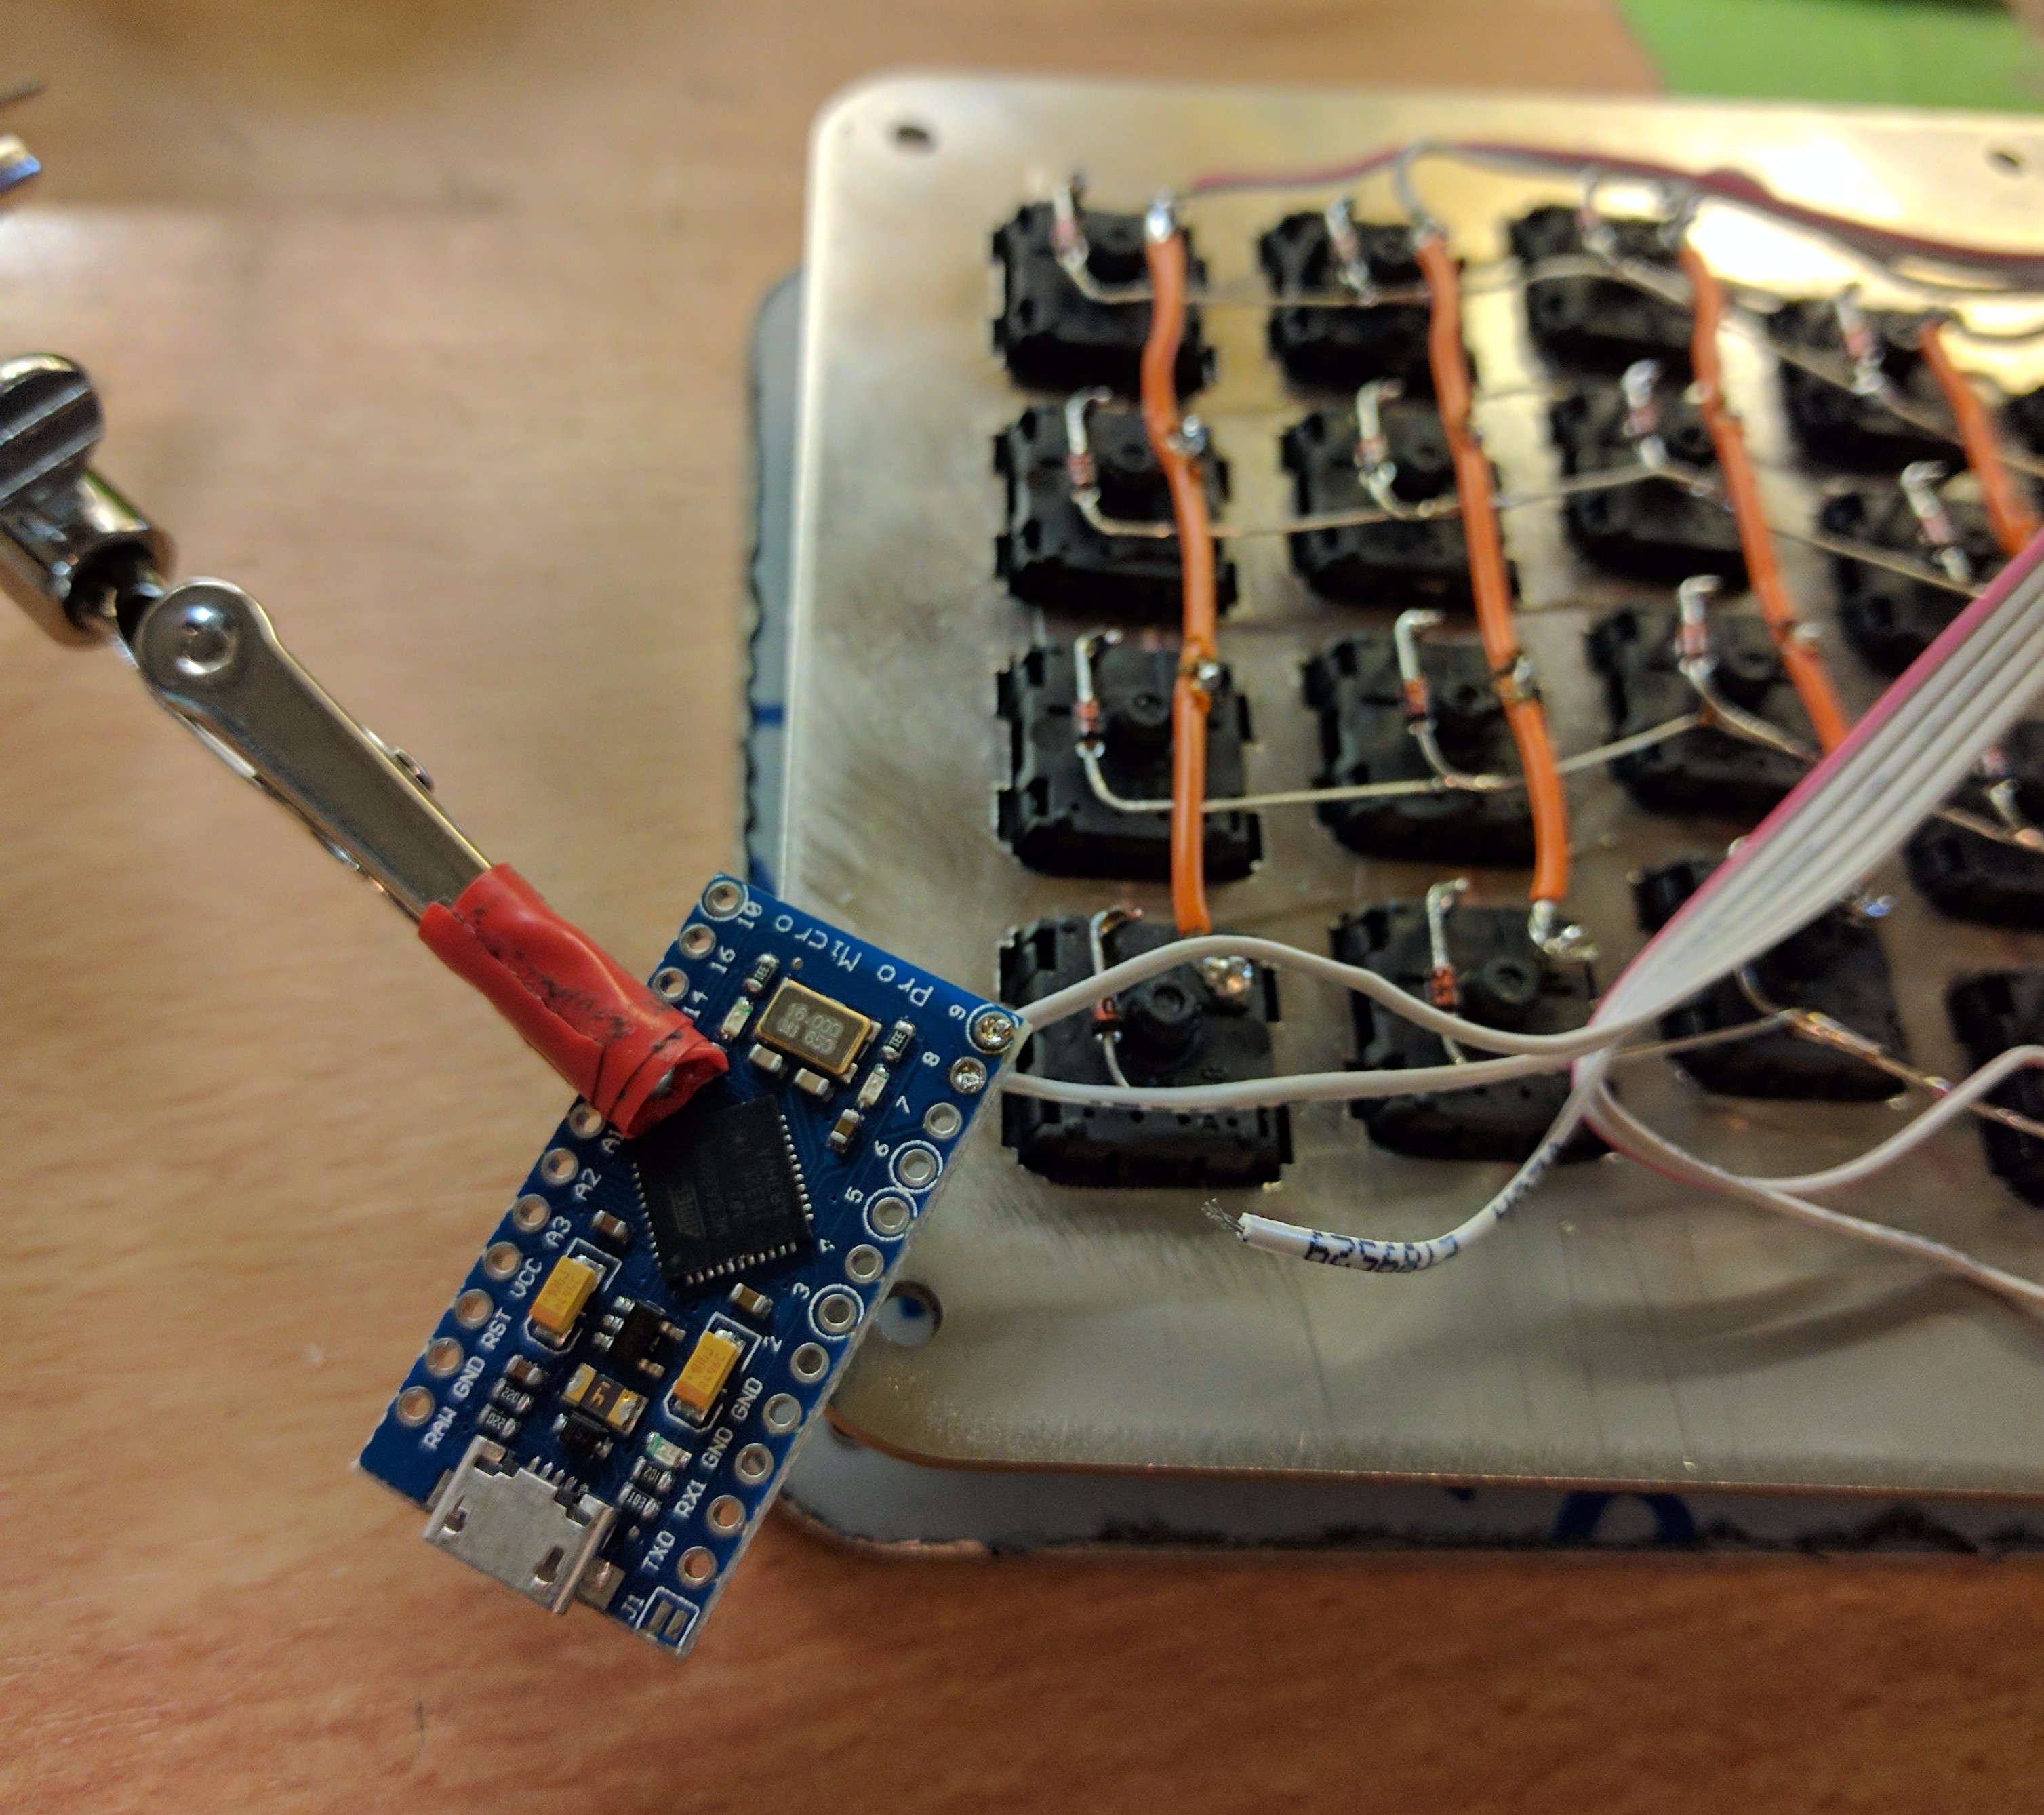
This is how the matrix looks like:

After these are done, connect a wire from each column, and each row to a I/O pin on the microcontroller.
If you haven’t done it earlier, this is a good stage to test all connections with a multimeter!
Firmware
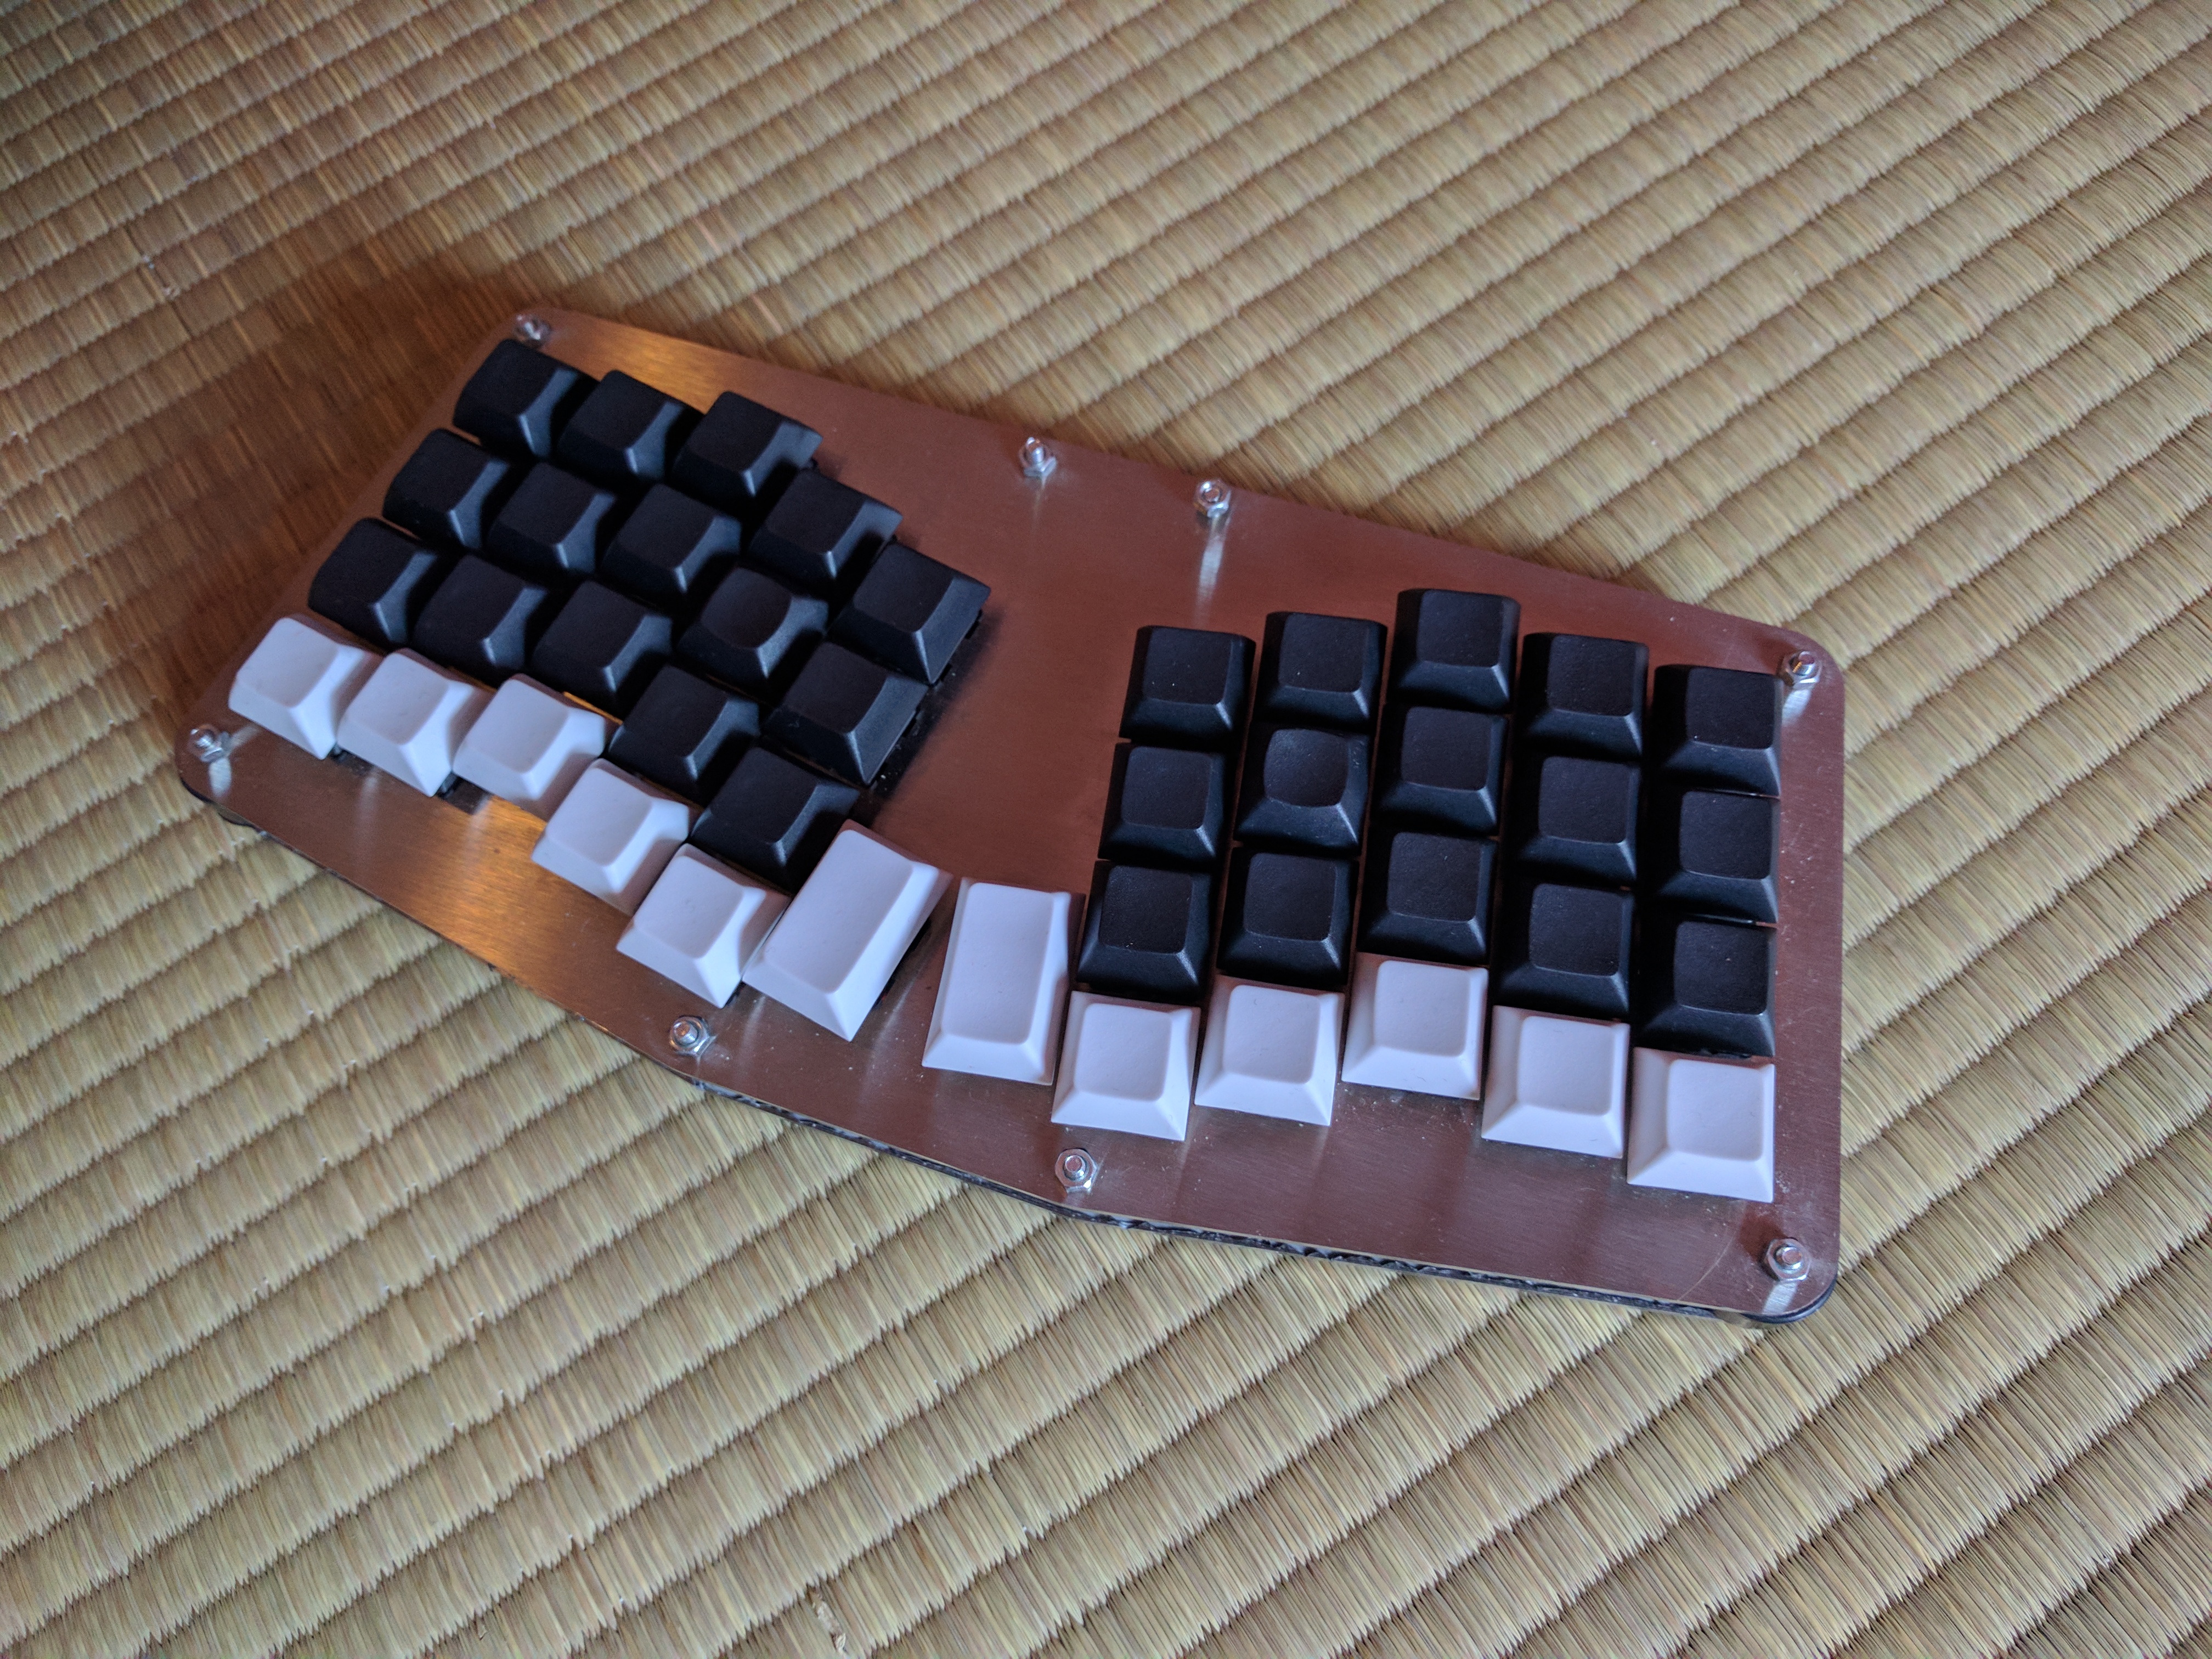
After finishing the wiring, I downloaded the QMK firmware, changed the PIN mapping for how my Atreus is wired up, switched the layout to Colemak, and the keyboard was ready to go.
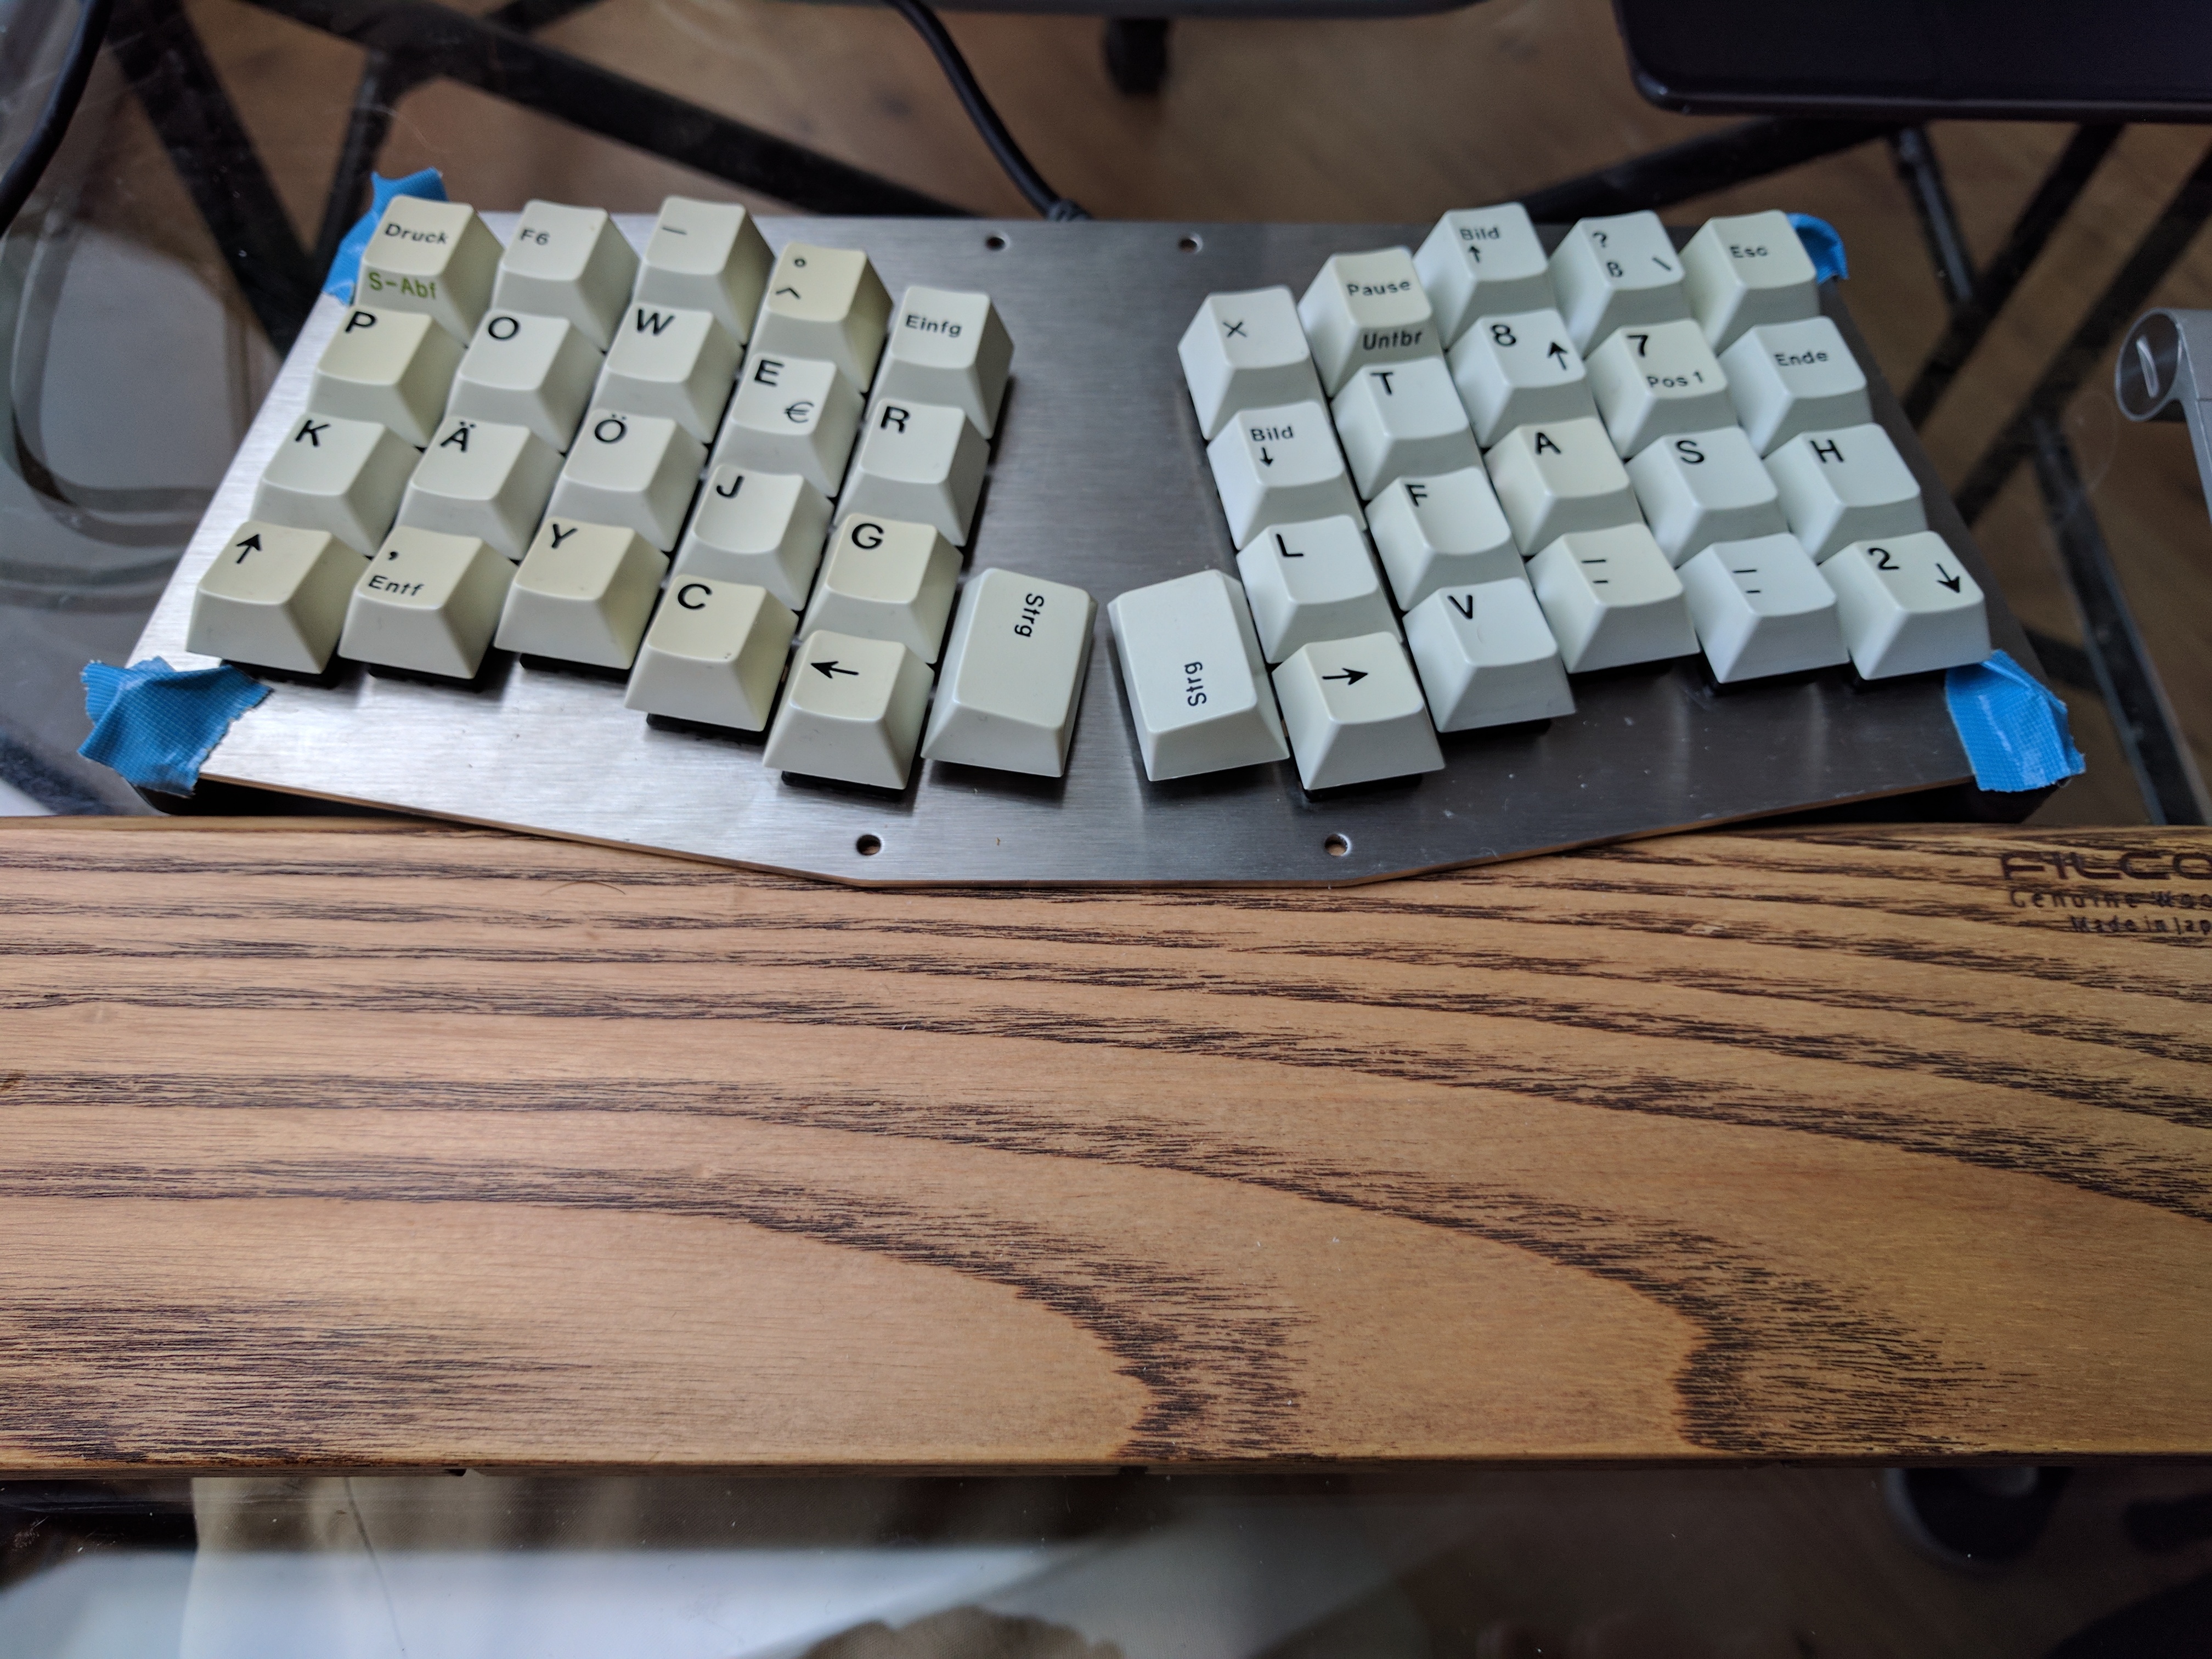
Don’t mind the key labels in the picture above. These are the second-hand keycaps I started with. Since then I’ve switched to blank ones.
USB-C
The default Atreus design has the USB cable connected directly to the microcontroller, meaning that you’ll have to open the case to change the cable. To mitigate that I wanted to add a USB breakout board to the project, and this being 2017, it felt right to go with USB-C.
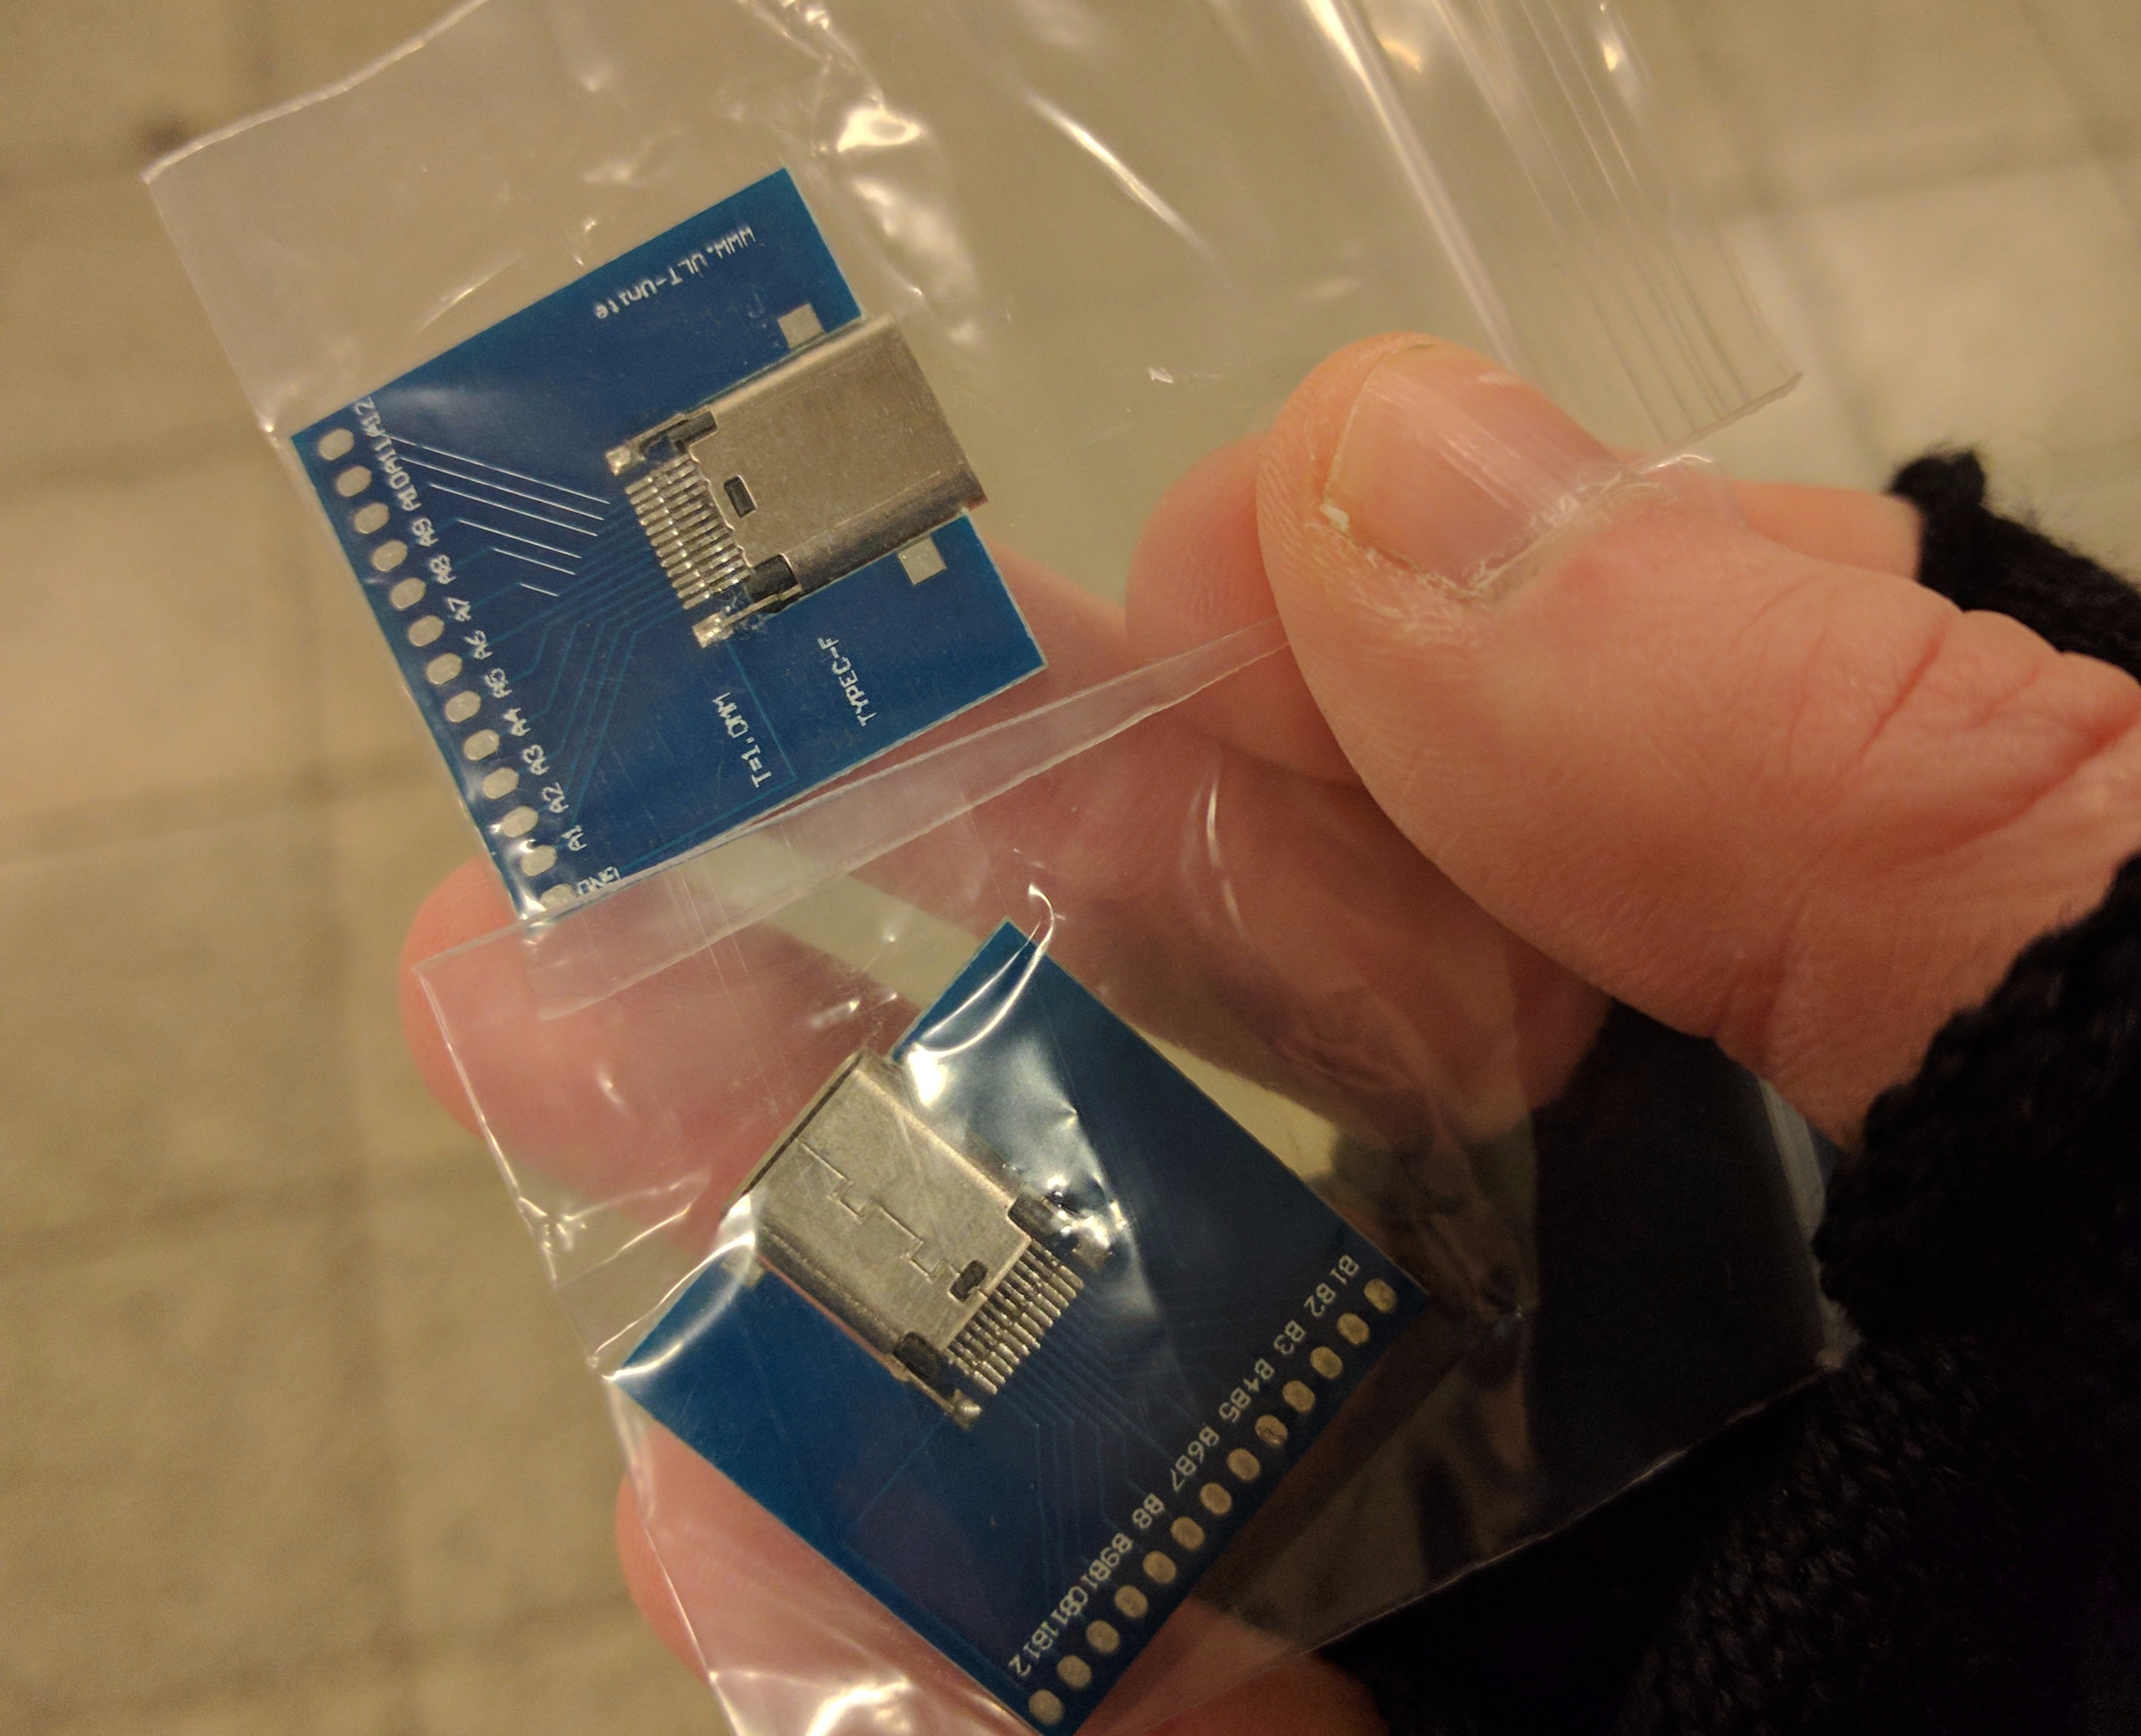
I found some cheap USB-C breakout boards from AliExpress. Once they arrived, it was time to figure out how the spec works. Since USB-C is quite new, there are very few resources available on how to use it with microcontrollers. These tutorials were quite helpful:
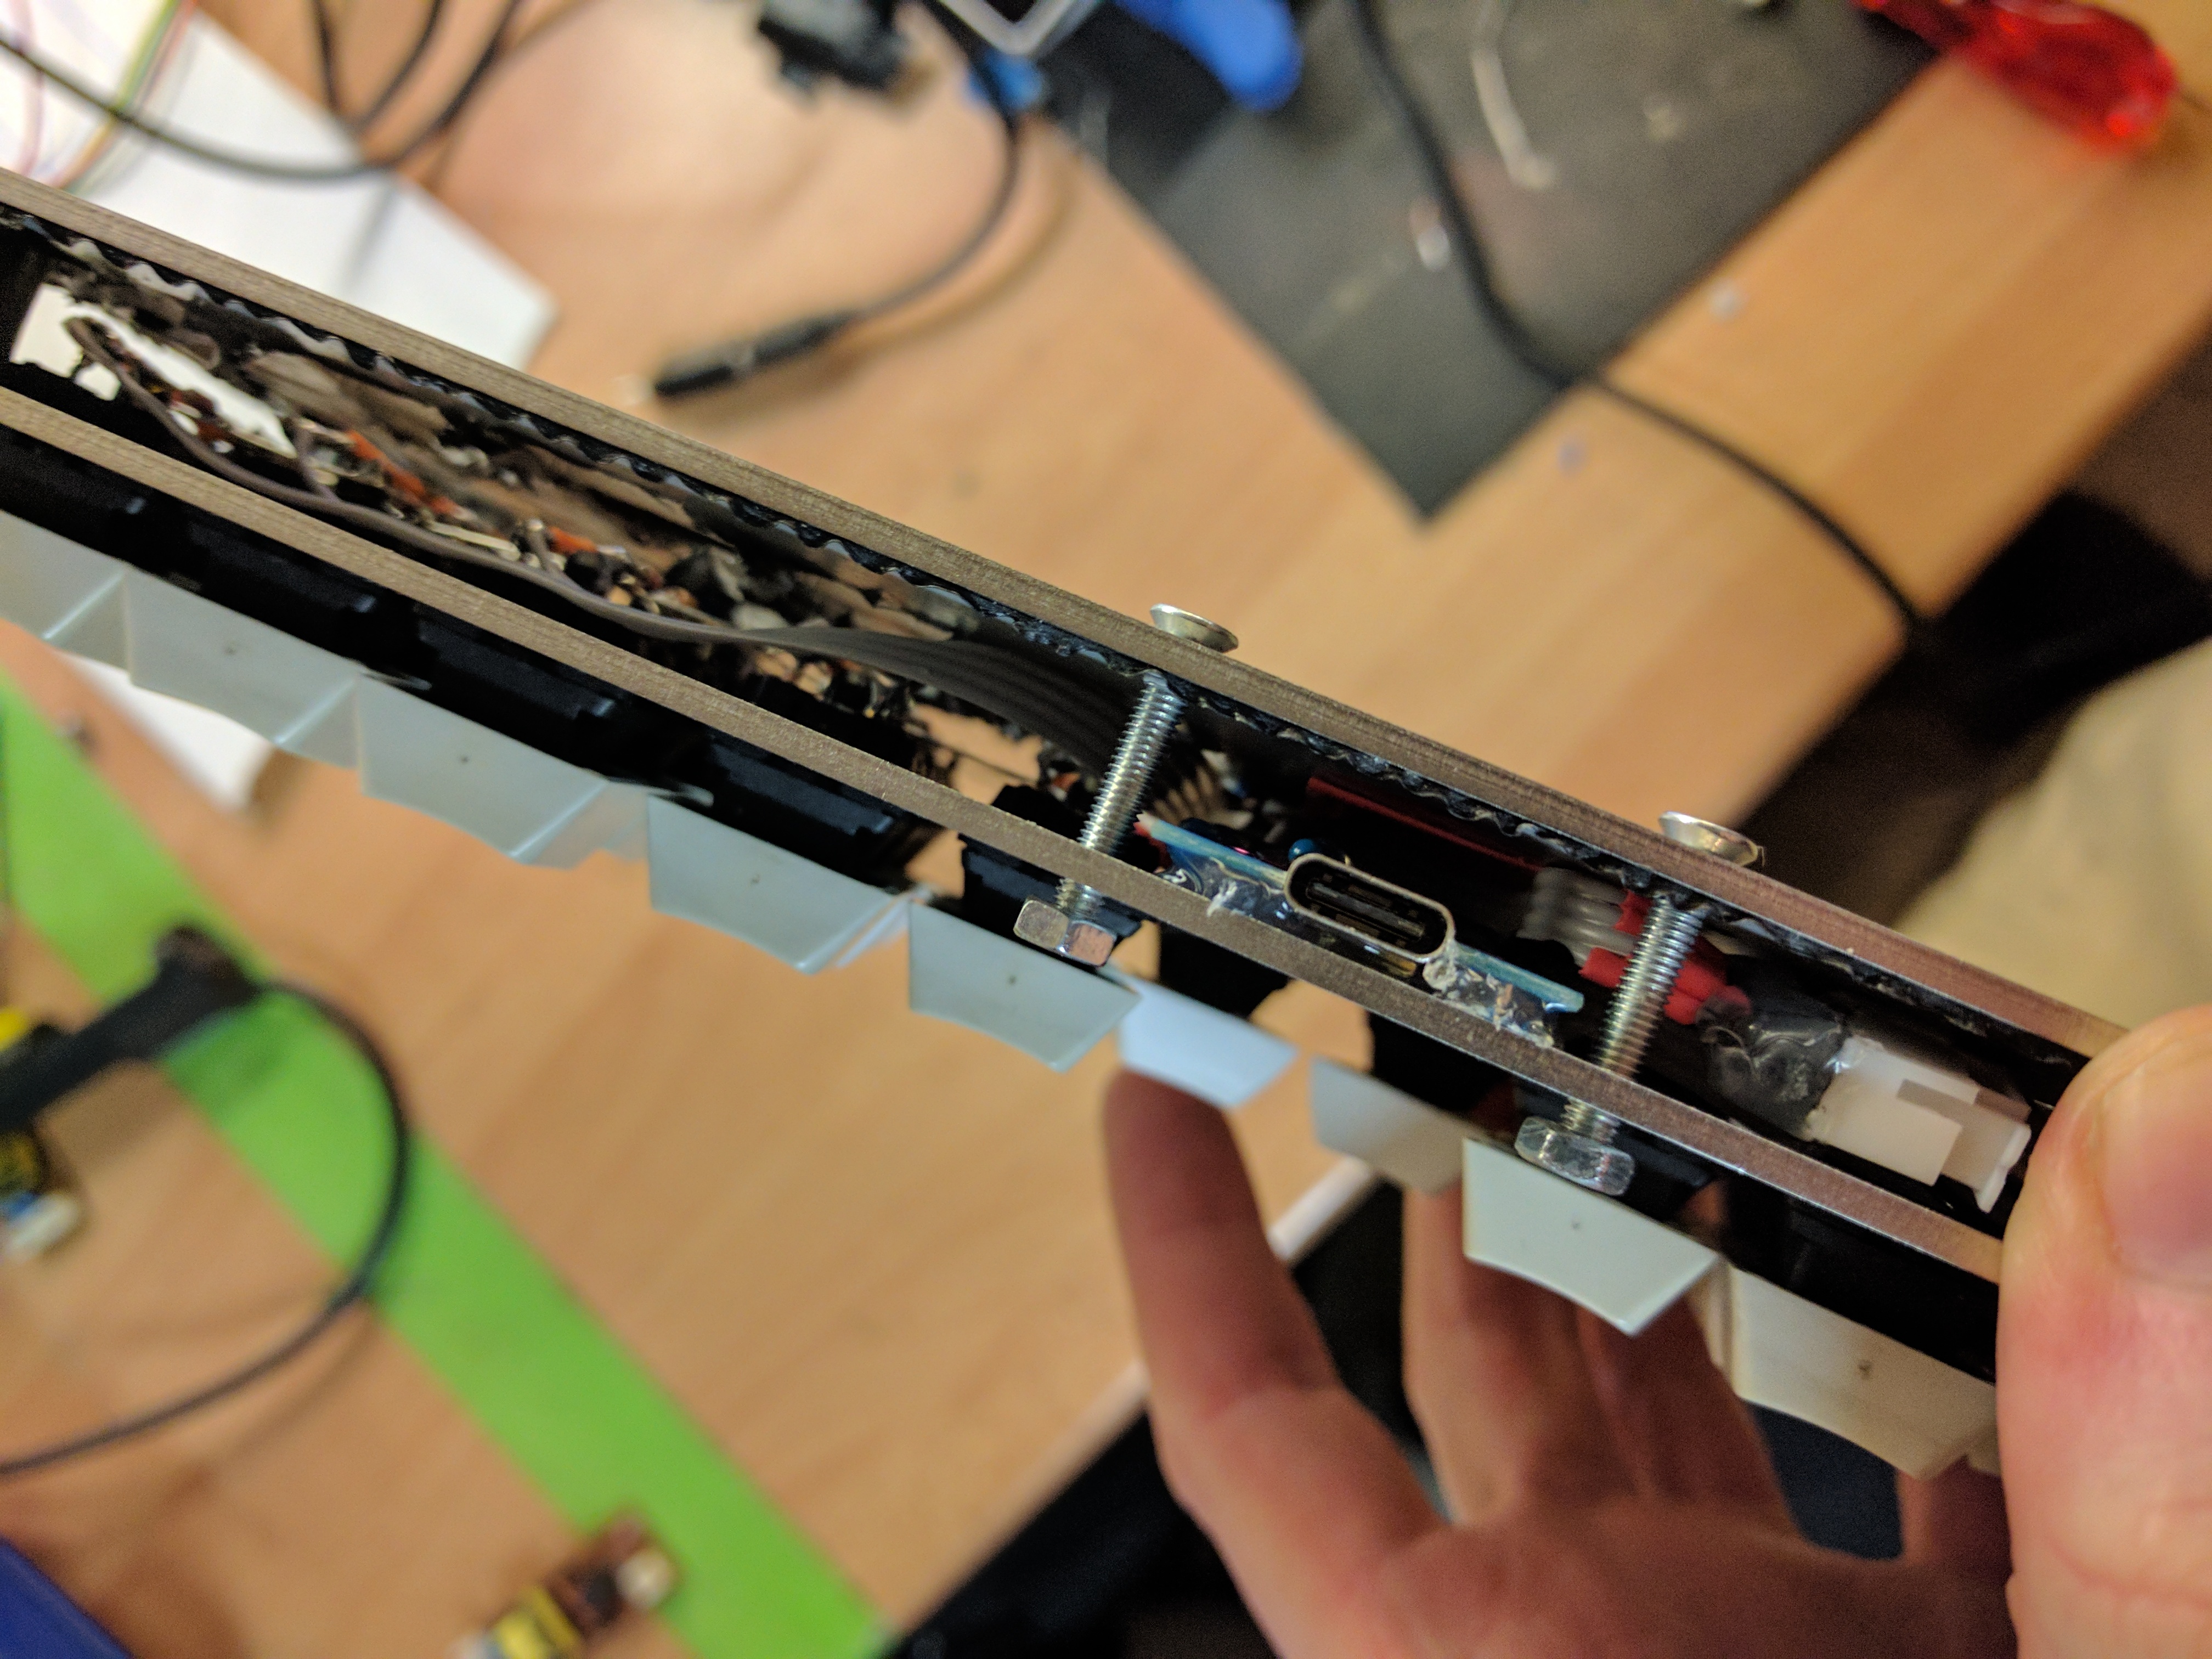
Here is how we ended up wiring the breakout board. After these you only have four wires to connect to the microcontroller: ground, power, and the positive and negative data pins.
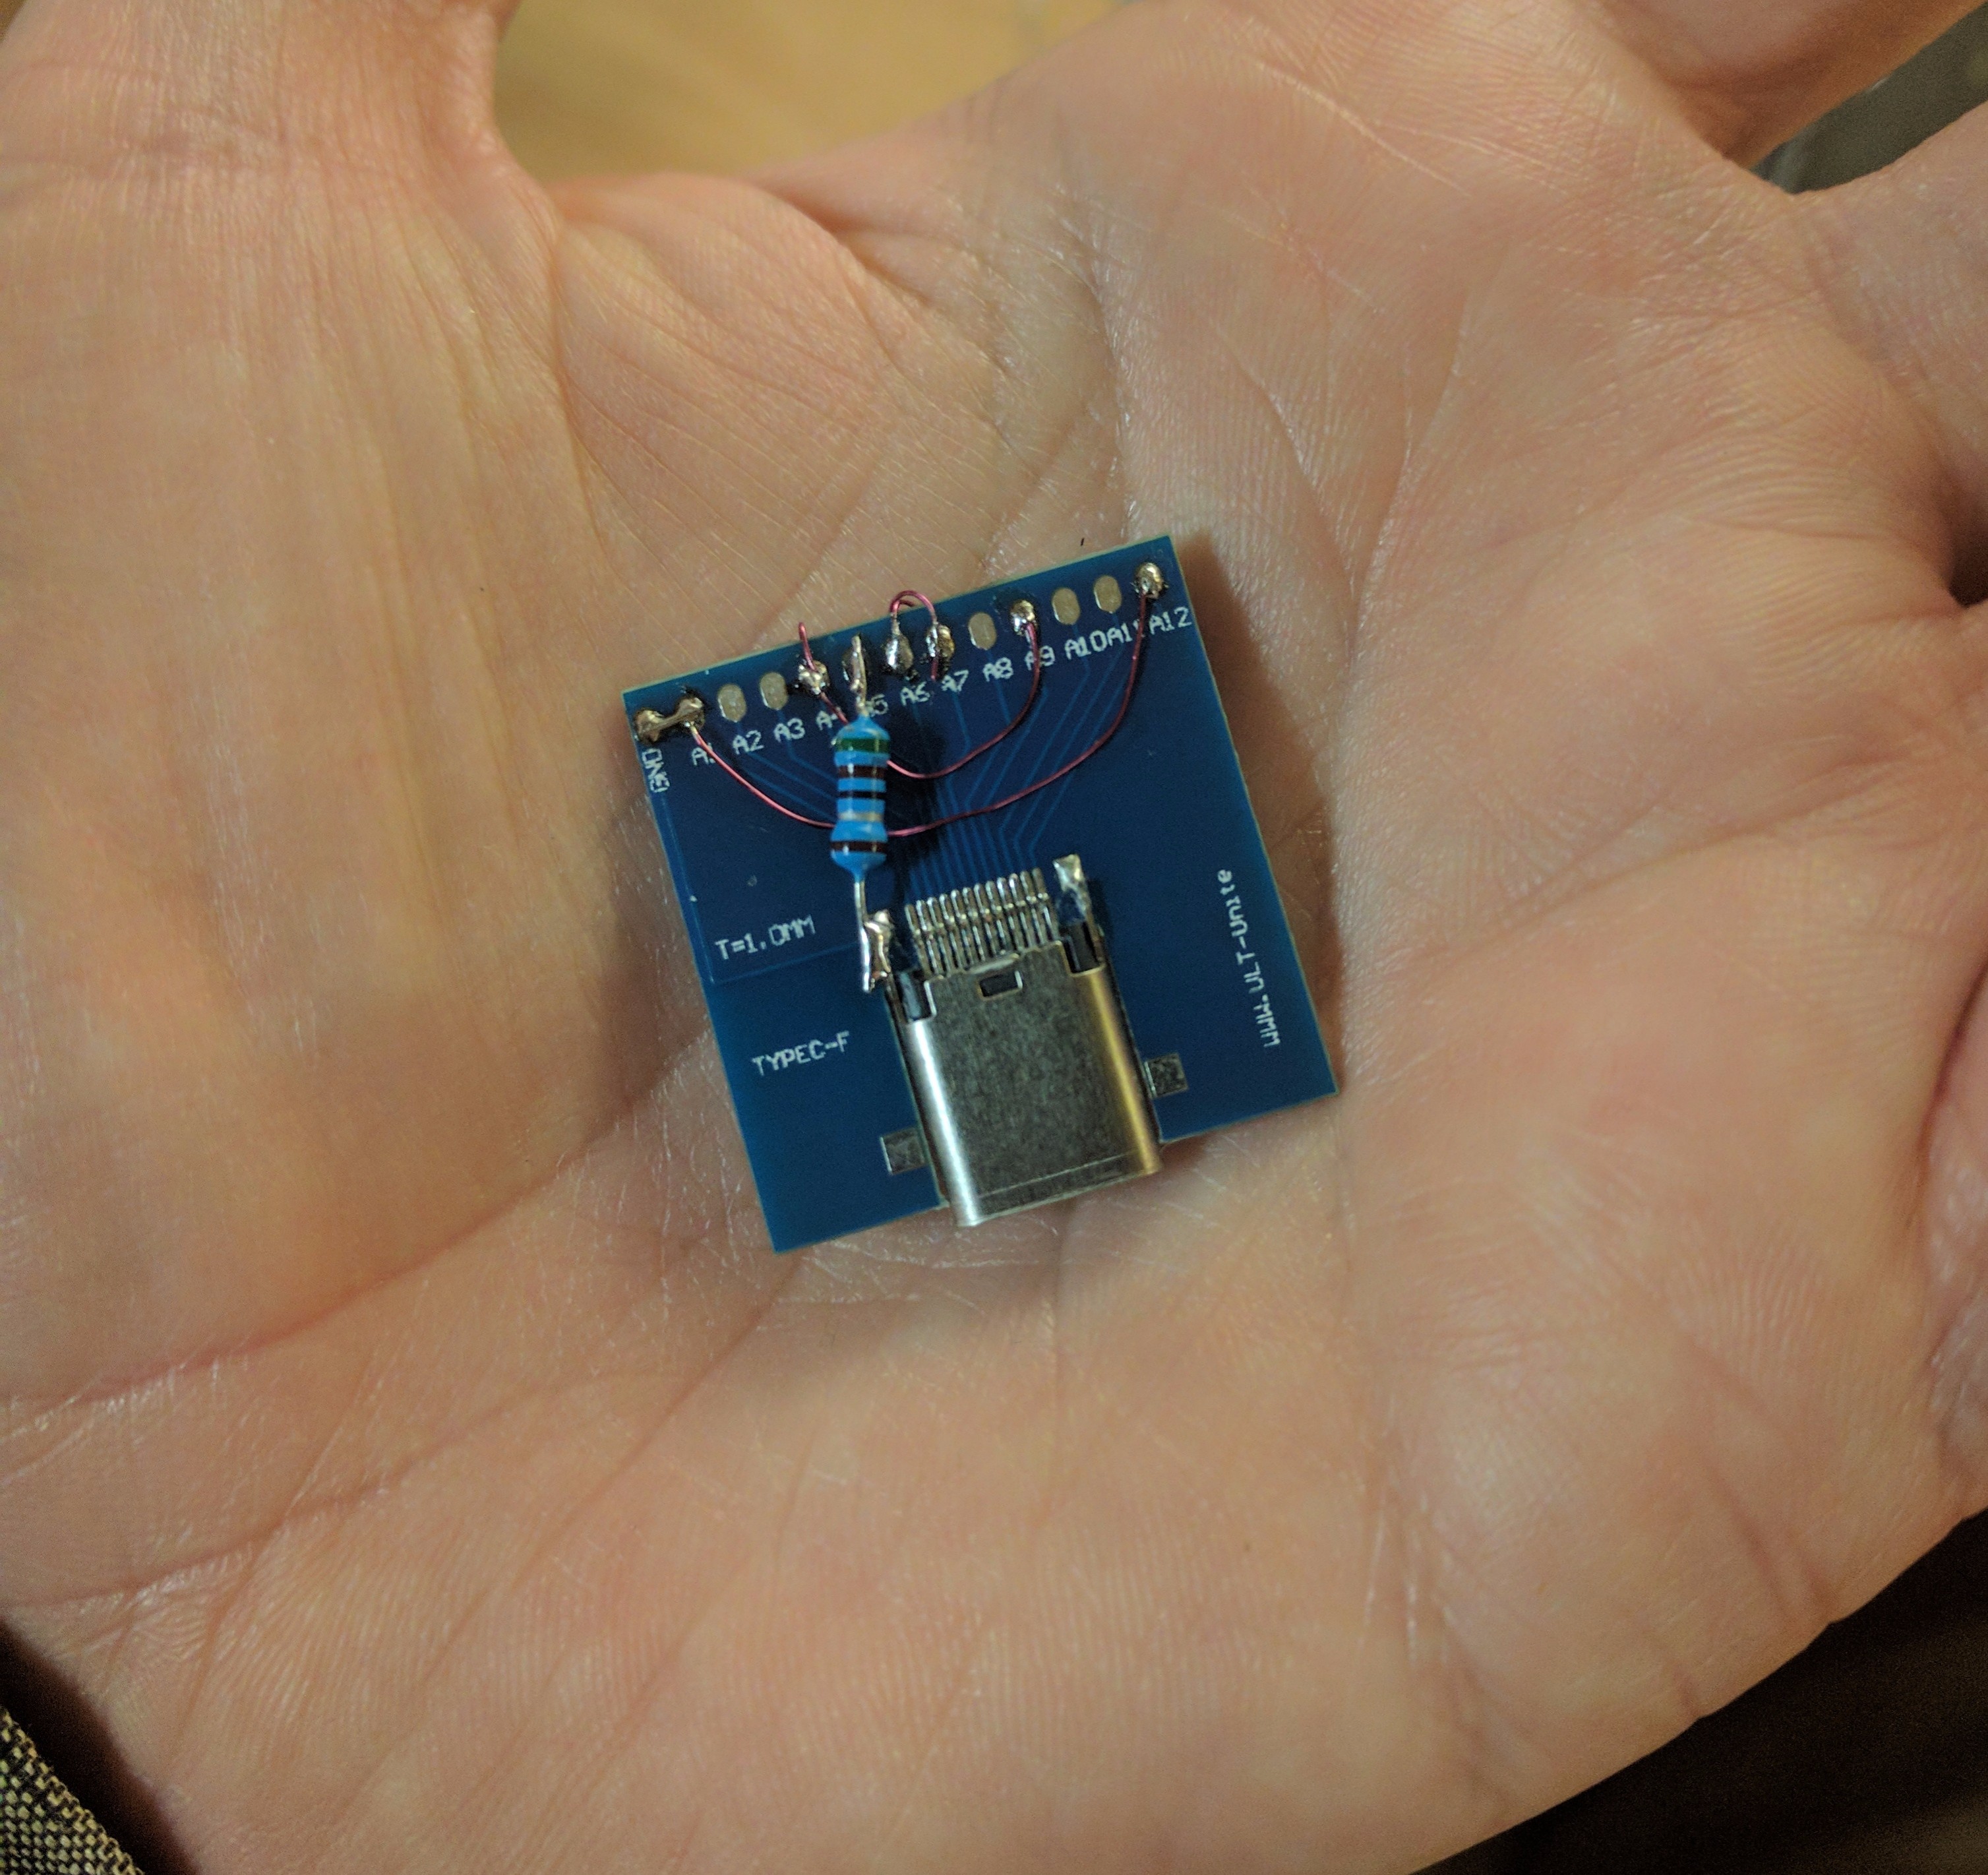
This Atreus build log was useful for figuring out where to connect the USB wires on the Pro Micro. Once all was done, I had a custom, USB-C keyboard!
Next steps
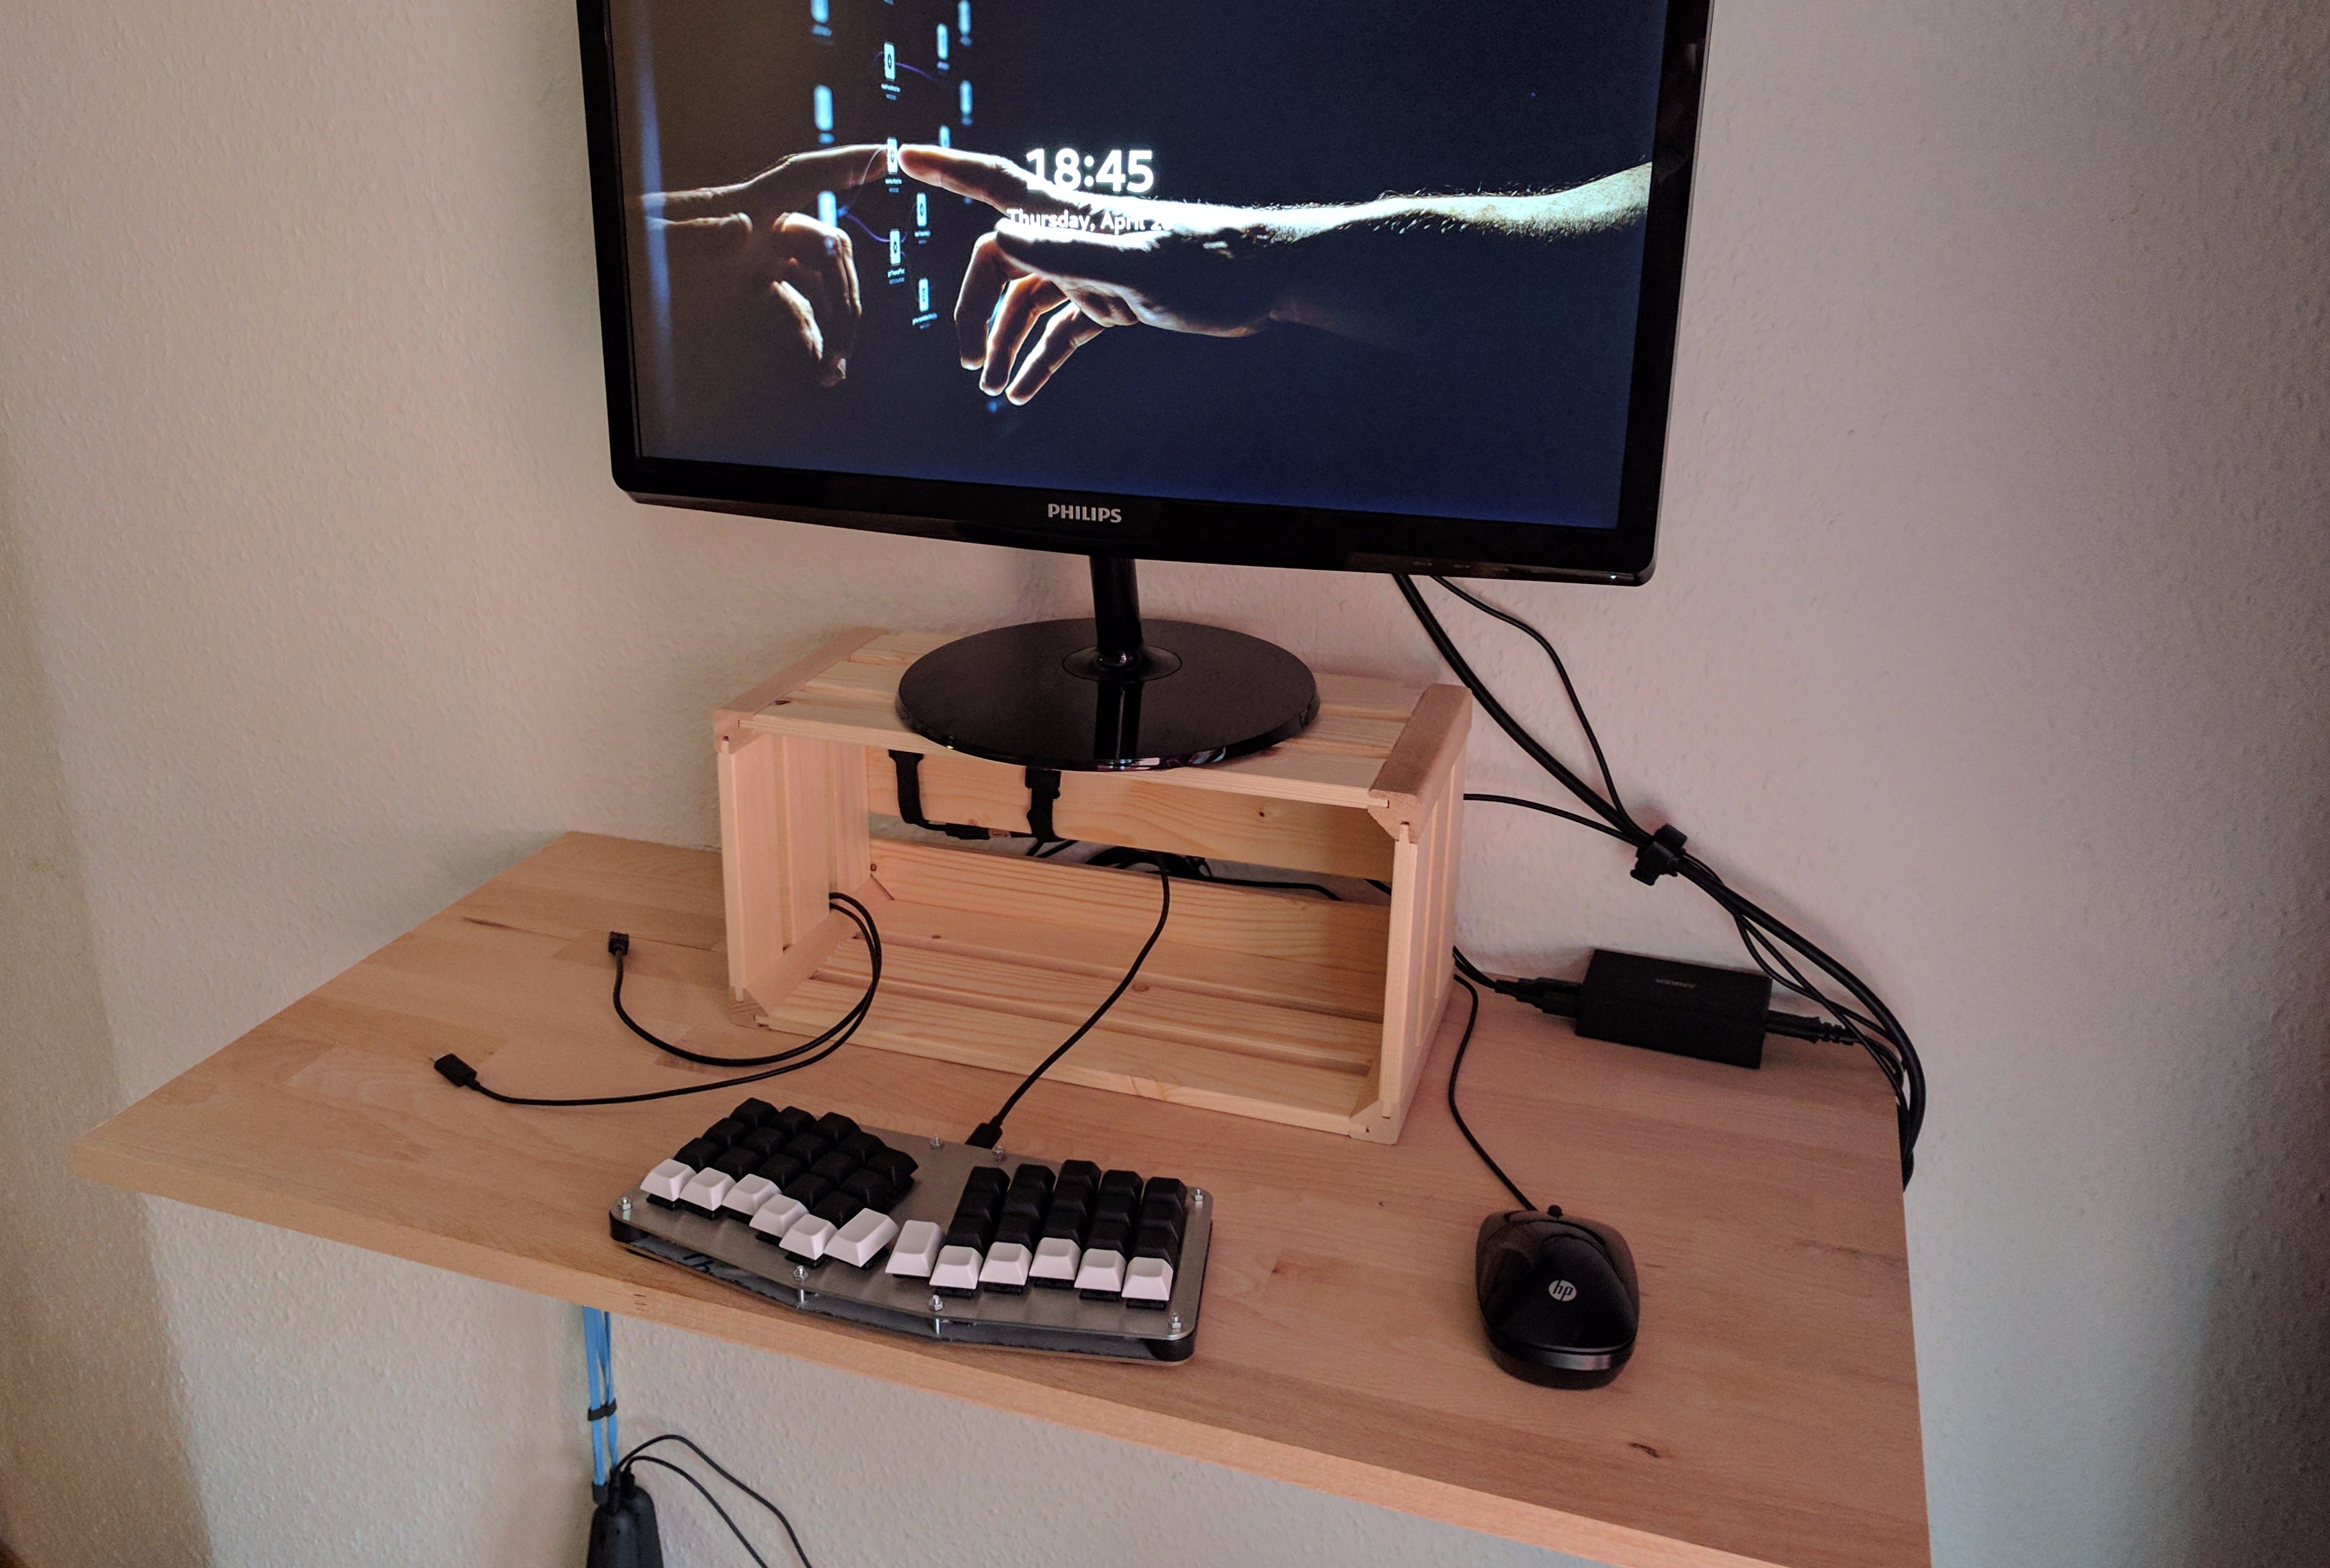
Now I have the Atreus working nicely on my new standing desk. Learning Colemak is a bit painful, but the keyboard itself feels super nice!
However, I’d still like to CNC mill a proper wooden case for the keyboard. I may update this post once that happens.
I’m also considering to order an Atreus kit so I’d have a second, always packed for travel keyboard. The kit comes with a PCB, which might work better at airport security checks than the hand-wired build.
Another thing that is quite tempting is to make a custom firmware with MicroFlo. I have no complaints on how QMK works, but it’d be super-cool to use our visual programming tool to tweak the keyboard live.
Big thanks to Technomancy for the Atreus design, and to XenGi for all the help during the build!
Continue reading
Working on an Android tablet: first six weeks